
9 min read · September 26, 2026
How to Resize an Image to Exact Dimensions Without Stretching or Cropping
Learn how to resize an image to exact pixel dimensions without stretching or cropping. Fit modes, sharpness rules, a size chart, and a free online workflow.
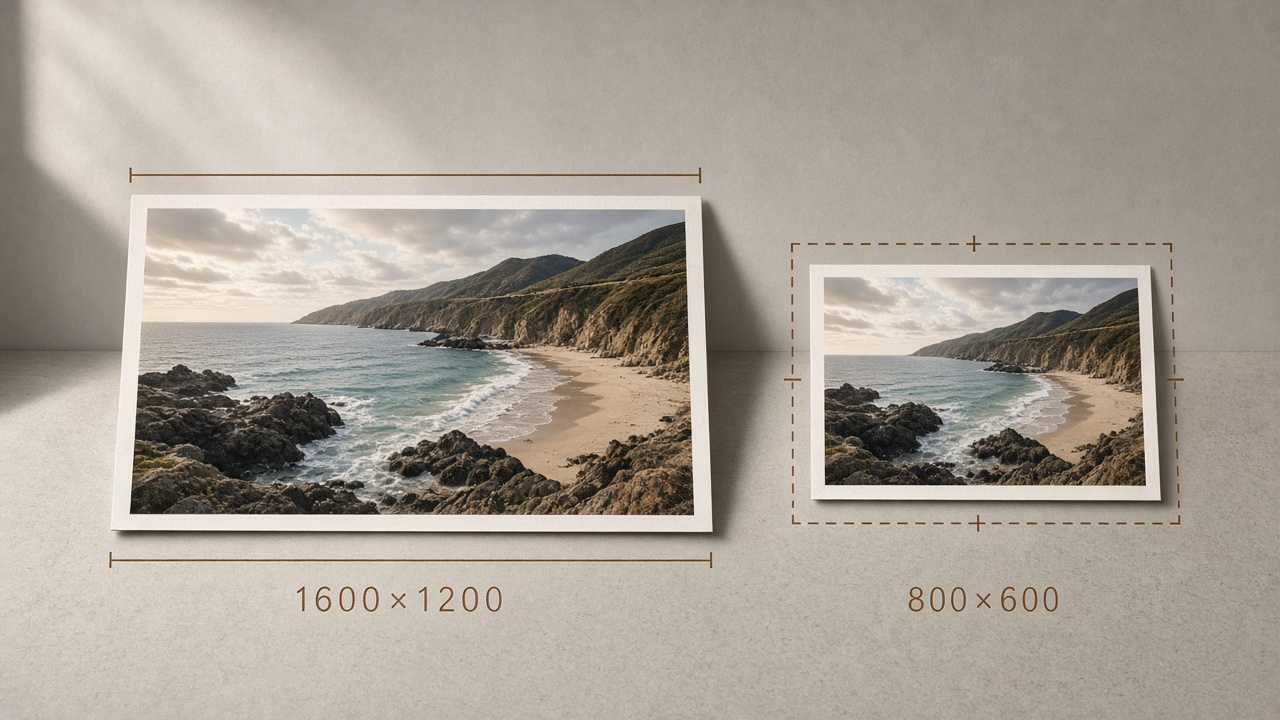
The form wants 600 × 600 and your photo has other plans
Every resize job starts with a mismatch. A job portal gives you a box that wants 600 × 600 pixels. Your phone hands you a 4000 × 3000 photo. YouTube asks for a 1280 × 720 thumbnail and your screenshot is 1170 wide for some reason. You drag a corner, the picture squashes to fit, and suddenly everyone in the frame looks like they were pressed against glass.
That squashed look happens when an image is forced into a shape it was never made for. Cropping fixes the shape but cuts content, and the top of someone's head is usually the first casualty. So the search begins for a way to resize an image to exact dimensions without stretching it and without cropping anything out of the frame.
Quick answer: it takes two things. Exact width and height inputs, plus a fit mode that decides what happens when the photo's shape doesn't match the target box. The free ImageToolkit resize tool has both, along with an aspect-ratio lock, and it runs in the browser with no account and no watermark. This guide walks through the workflow, explains why resizing sometimes softens a photo and sometimes doesn't, and lists the pixel sizes worth keeping on a sticky note.
"Resizing maps your photo onto an exact pixel grid. Downscaling is safe, enlarging is a compromise you should make knowingly."
What resizing actually does to your pixels
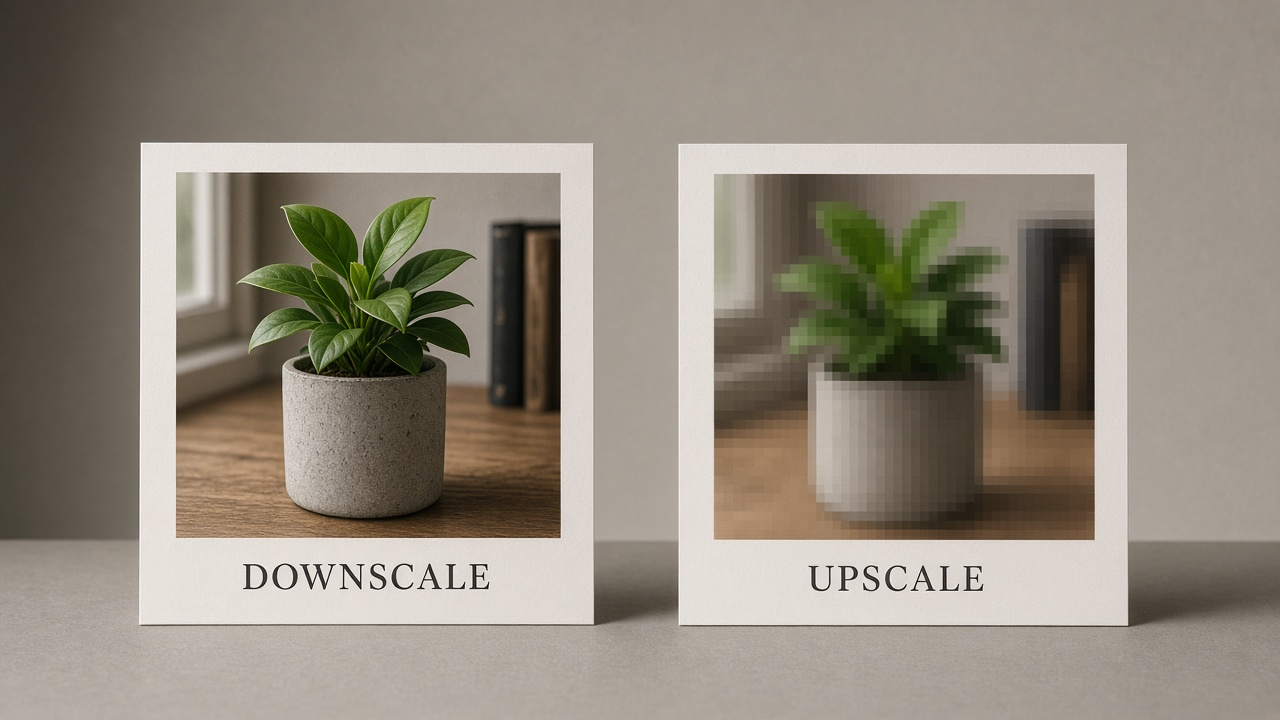
An image is a grid of pixels and each pixel holds one color. Resizing rebuilds that grid at a different size. When you go smaller, say 4000 pixels wide down to 800, the tool throws pixels away and blends what remains. That direction is safe. A downscaled photo looks just as sharp as the original at normal viewing size, because the camera captured far more detail than the screen was going to show anyway.
Going bigger is the opposite problem. Enlarging a 300-pixel-wide image to 1200 means inventing pixels that were never captured. The tool guesses from neighboring colors, and the guess shows up as soft edges or blocky patches, the look people loosely call blur. No setting restores detail the camera never recorded. AI upscalers guess more cleverly, but a tiny avatar still will not become a poster.
That asymmetry is the most useful thing to understand before touching any resize tool. Shrink with confidence. Enlarge only when nothing else will do, and start from the sharpest, largest file you actually have, not a copy that already went through a chat app.
One honest note about how ImageToolkit handles this. The resize tool includes an optional upscale toggle for the times a layout or a form demands a bigger canvas than your file provides. It is there because the request is real, not because enlarging is free. Leave it unchecked unless you truly need it.
How to resize an image to exact dimensions online (3 steps)
1. Upload the original
Open the resize tool and drop in your file, up to 15 MB. Use the photo straight from the camera or the original download, not a screenshot of it. Screenshots throw away resolution before the resizing even starts.
2. Type the width and height
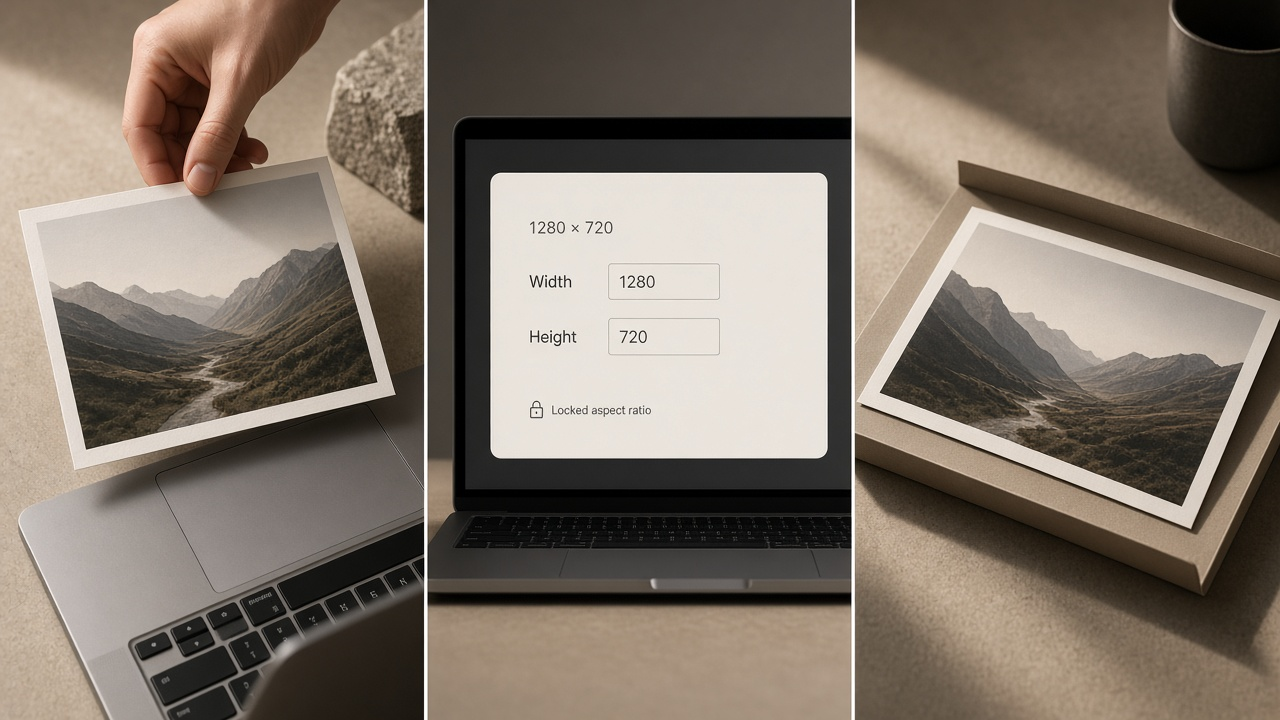
Enter the exact pixel numbers your destination asks for. Turn the aspect-ratio lock on when both numbers should move together, which keeps a 4:3 photo a 4:3 photo at any size. Leave upscale unchecked unless enlarging is the actual goal.
3. Pick a fit mode, resize, download
Fill, Fit, Stretch, Cover, and Contain decide what happens when the shape of the photo and the box you typed disagree. The next section untangles them. Run the resize, glance at the preview, and the download arrives as a `_resized.png` file carrying exactly the dimensions you entered.
The whole loop takes under a minute once you know your target numbers. Nothing to install, no signup, and no gallery of your files kept afterward.
Fill, Fit, Stretch, Cover, Contain: which fit mode does what
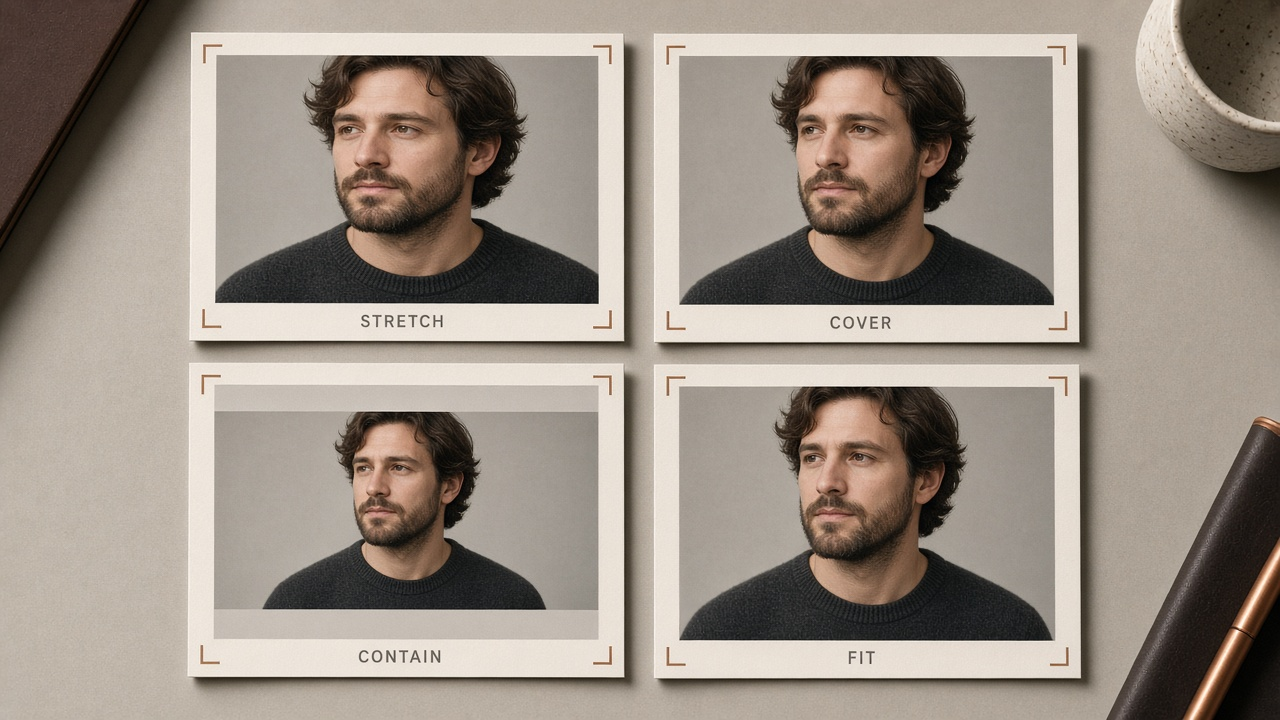
Fit modes sound like jargon until you see them as five answers to one question. When the photo's shape and the target box disagree, what should happen to the leftover space or the extra content?
Stretch forces every edge to match the box, which is exactly how faces end up wide and circles end up oval. Save it for abstract backgrounds where nobody can tell. Fill resizes straight to the exact target and behaves closest to a plain resize. Cover also fills the box, but instead of distorting it scales until the box is full and trims whatever spills past the edges, which is great for thumbnails and brutal for group photos. Contain keeps every pixel and pads the leftover space, so nothing is lost but the output carries bars on two sides. Fit scales the whole image to sit inside the box with no distortion and no padding when the shape already matches.
| Mode | What happens | Best for |
|---|---|---|
| Stretch | Fills exactly, distorts to match | Backgrounds and abstract fills |
| Fill | Direct resize to the exact target | Same-shape resizes |
| Cover | Fills the box, crops the overflow | Thumbnails, banners, heroes |
| Contain | Keeps everything, pads the rest | Forms that reject any cropping |
| Fit | Whole image scaled inside the box | Clean proportional scaling |
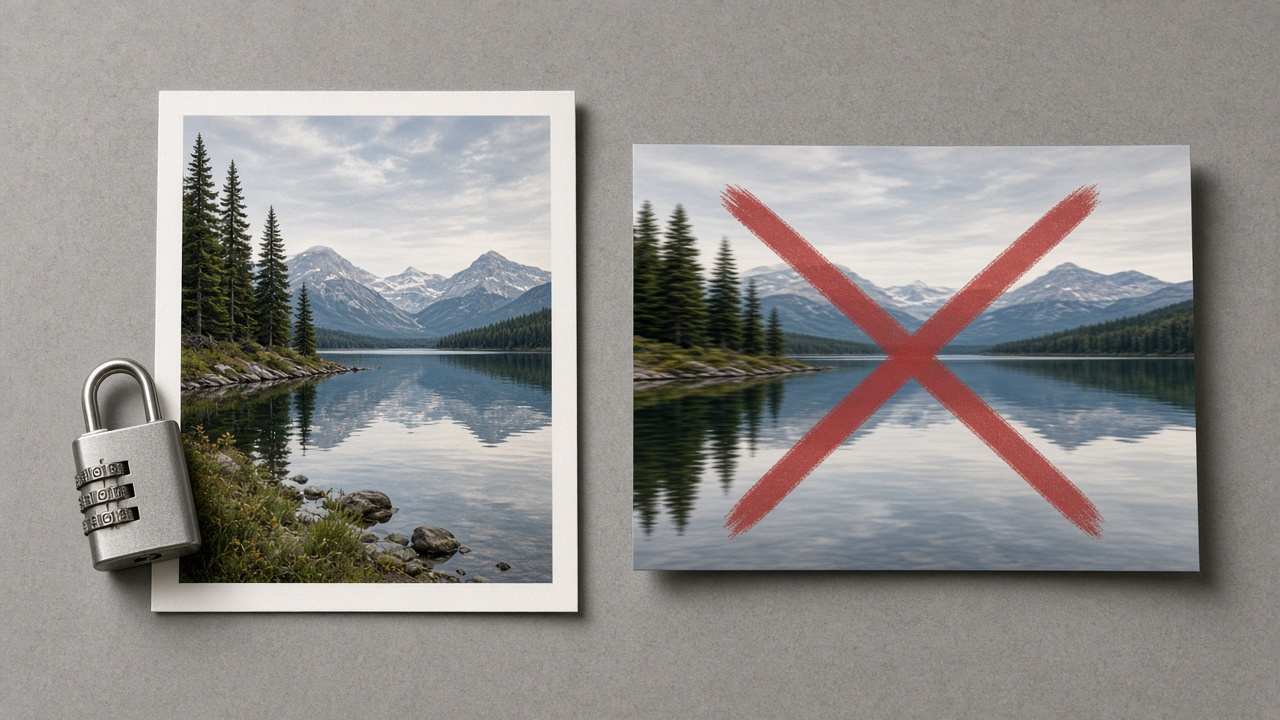
If the goal is to resize without stretching or cropping, Fit and Contain are the two modes that promise precisely that. The difference is what fills the leftover space. Fit leaves it empty, Contain pads it, and either way the photo itself comes through untouched.
The habits that keep resized photos looking sharp
Start from the biggest file you have. Every generation away from the original loses something, so resize from the camera file rather than a copy that already lived in a group chat. And resize in one step. The tool handles the math from 4000 pixels to 400 better than a chain of manual passes, each of which re-samples pixels that were already re-sampled.
Lock the aspect ratio unless you have a specific reason not to. The lock keeps width and height moving together, so a 1600 × 1200 photo stays 4:3 whether you land at 800 × 600 or 400 × 300. Unlocking both fields independently is how photos get that stretched-funnel look, and there is no filter that undoes it later.
Be honest about upscaling. A modest enlargement of a sharp photo can still be usable. Pushing well past the original pixel count gets softer with every step, and if the source is a tiny logo the better fix is asking for a vector or a larger export rather than inflating the bitmap. Also preview the result at full size before you send it anywhere. Faces, small text, and thin edges are where damage shows first, and a small preview thumbnail will happily hide all three.
Resizing changes pixel dimensions only. It does not change the file format. If the destination also refuses your file type, convert it in a second pass with the image converter — the walkthrough in how to convert image formats online covers the WebP, JPG, and PNG directions.
Pixel sizes worth bookmarking
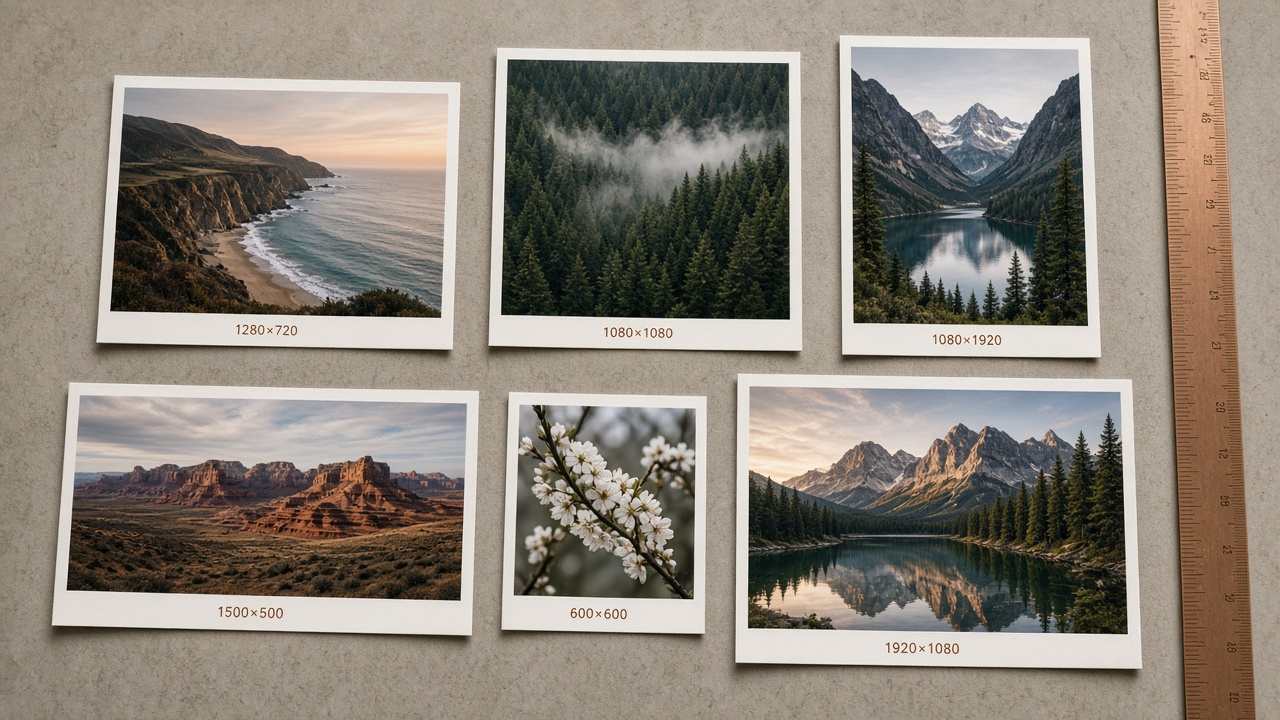
Half the job is knowing the number. These come up constantly for everyday work:
| Destination | Common size |
|---|---|
| YouTube thumbnail | 1280 × 720 |
| Instagram square post | 1080 × 1080 |
| Instagram Story or Reel cover | 1080 × 1920 |
| X (Twitter) header | 1500 × 500 |
| US passport or visa photo | 600 × 600 |
| Full HD desktop wallpaper | 1920 × 1080 |
| Email body image | about 600 px wide |
| Blog content image | about 1200 px wide |
Platform specs change now and then, so treat these as starting points rather than gospel. The requirement listed by the site or form you are actually uploading to always wins. When a form lists both a pixel size and a KB limit, the pixels are this tool's job. The KB half is a different job, and the last section before the FAQ explains why.
Mistakes that quietly ruin resized photos
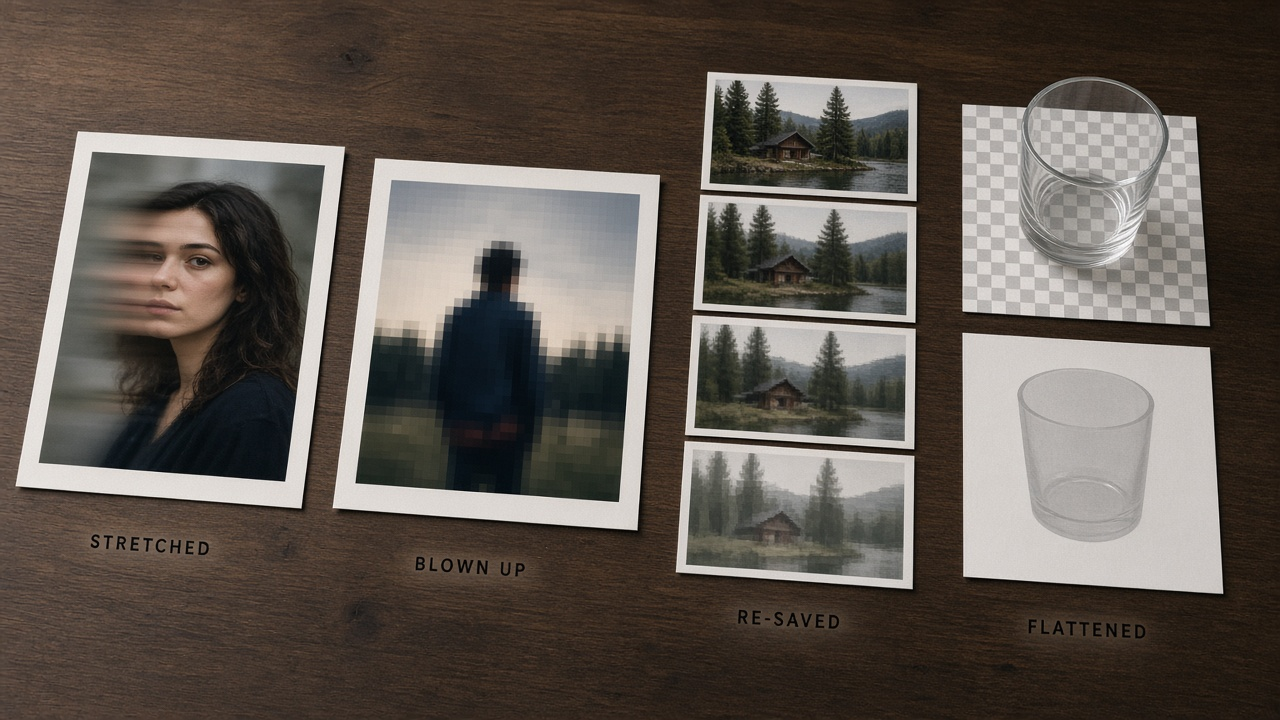
Stretching is the most common, and it rarely announces itself. A photo forced from 4:3 into 16:9 still looks like a photo at thumbnail size. The distortion waits until full size, where it arrives as wide jaws and oval logos. When the shapes don't match, that is a fit-mode decision, not a reason to unlock the aspect lock and shove.
Re-saving a resized image again and again is the quiet one. Each pass re-compresses and re-samples pixels that were already re-compressed, and by the third or fourth copy you get the muddy look people blame on the tool. The fix costs nothing: keep the master original and resize from it every time.
Enlarging past the original pixels while hoping for sharpness wastes a download. Resizing makes things bigger, it does not recover detail. A 200-pixel avatar will not turn into a crisp 1200-pixel banner no matter which tool processes it.
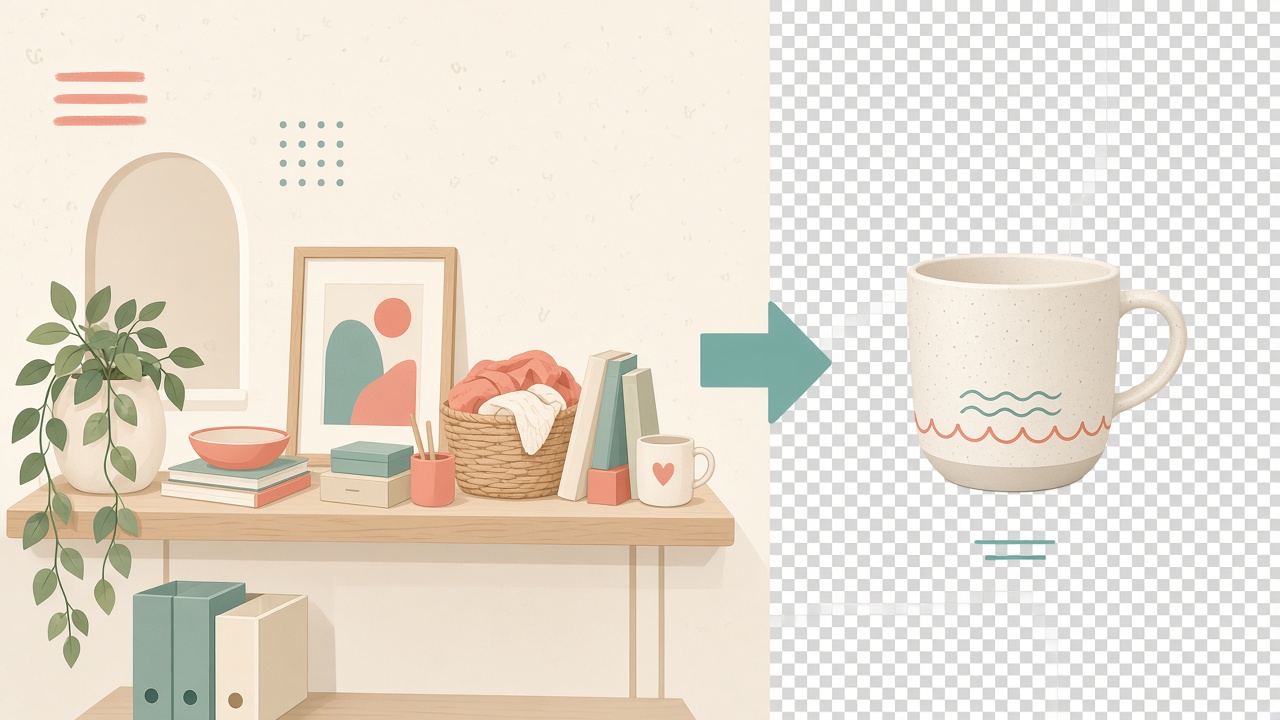
Flattening transparency catches anyone working with cutouts. Resize outputs PNG, which keeps clear backgrounds, but route the file through a JPG export afterward and the transparent corners turn solid white. If your cutout came from the background remover, keep it as PNG — the reasons are covered in the transparent PNG guide.
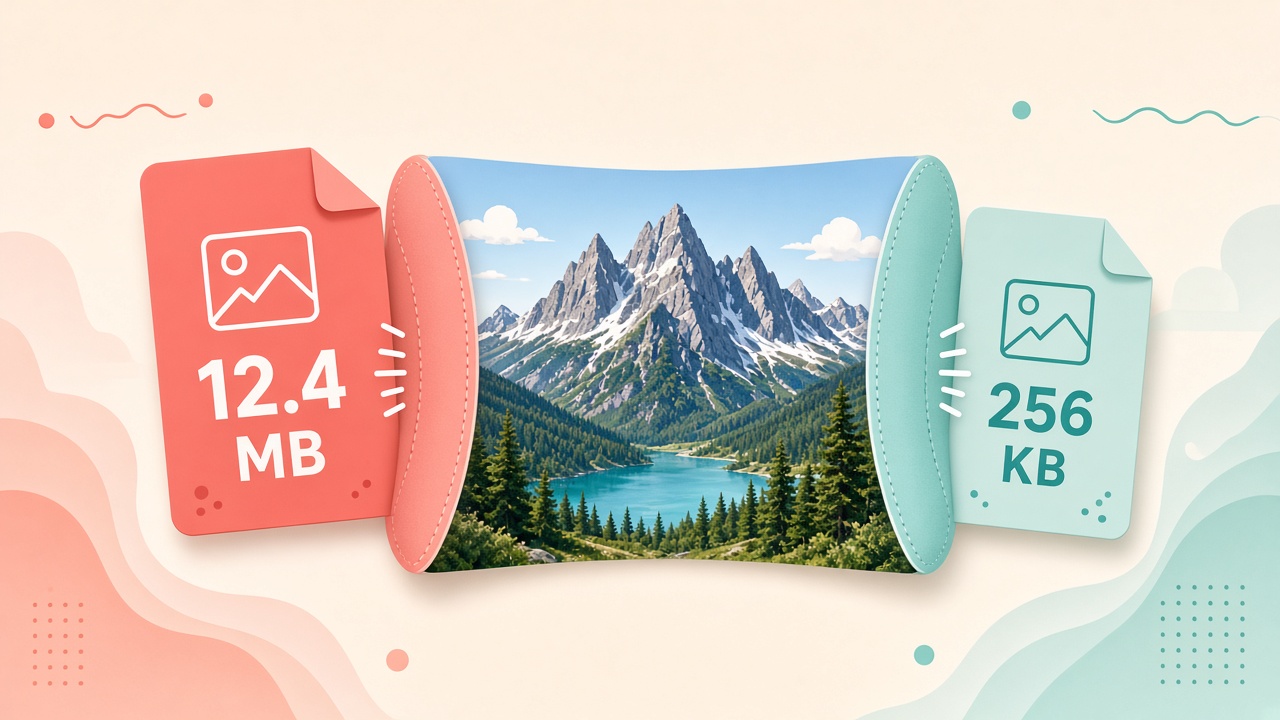
And the classic: fighting a KB limit with pixel changes. Dimensions and file weight are related but separate controls. If a form rejects the file for being too heavy after the size is right, use quality-first compression, the workflow in compress images without losing quality, instead of shrinking the image into uselessness. The same logic applies before sharing screenshots publicly: redact the sensitive parts with pixelate first, resize second.
Key takeaways
- Resizing maps your photo onto an exact pixel grid. Downscaling is safe, enlarging is a compromise you should make knowingly.
- Exact dimensions plus an aspect lock plus the right fit mode is the whole trick to resizing without stretching or cropping.
- Fit and Contain are the no-distortion modes. Stretch always distorts, Cover always crops.
- Resize from the original, preview at full zoom, and never chase a KB limit with pixel changes — compress instead.
- The ImageToolkit resize tool is free, needs no account, and adds no watermark.
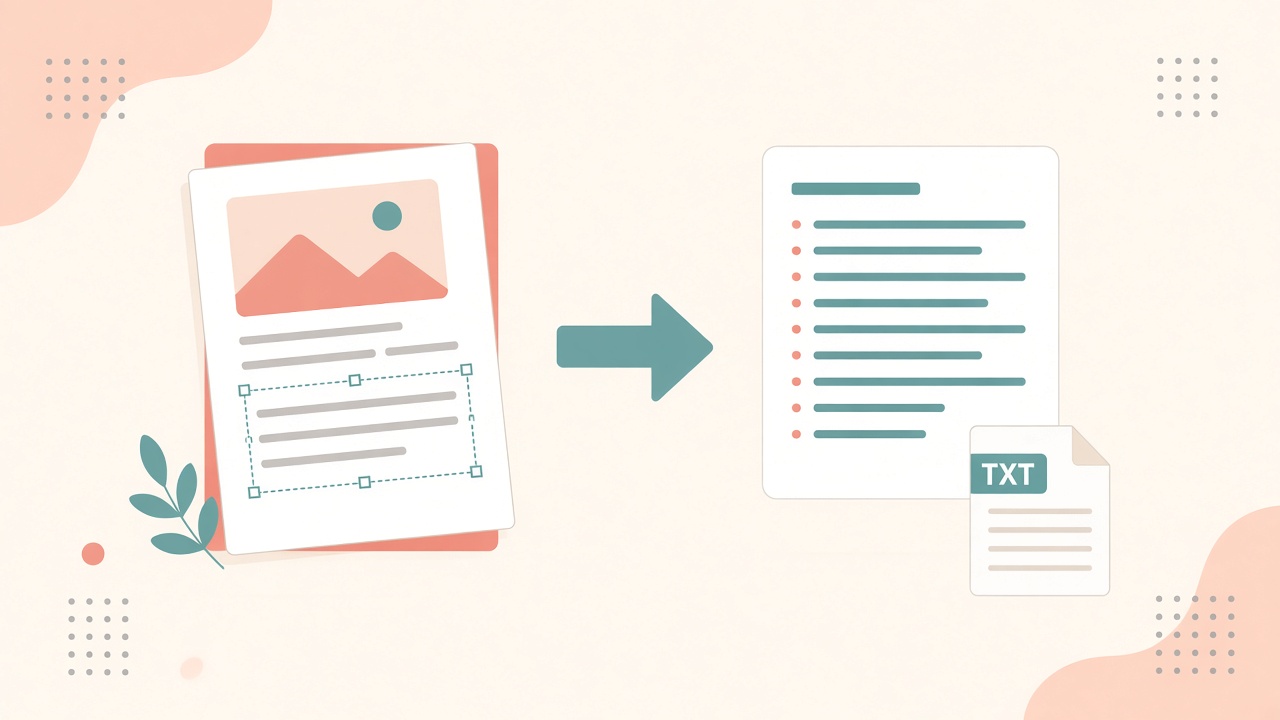
- Keep reading: convert image formats, transparent PNG cutouts, OCR text extraction, or pixelate for privacy.
Frequently asked questions
How do I resize an image to exact pixel dimensions online?
Upload the image to a resizer, type the width and height you need, then download. On ImageToolkit's resize tool you enter pixels directly, optionally lock the aspect ratio, pick a fit mode, and get a file at exactly those dimensions. Free, no account.
How do I resize an image without stretching it?
Never force both width and height when the shapes don't match. Keep the aspect ratio locked, or use a fit mode that protects proportions. Fit scales the whole image inside the target and Contain pads the leftover space. Stretch is the only mode that distorts, so skip it for photos.
Does resizing an image reduce quality?
Shrinking usually doesn't at normal viewing size, since you're discarding pixels the screen didn't need anyway. Enlarging does, because the tool has to invent pixels that were never captured. For the cleanest result, resize in one step from the sharpest original you have.
Can I enlarge a small image without it getting blurry?
Only up to a point. A modest upscale of a sharp photo can stay acceptable, but pushing a thumbnail to poster size will always look soft because the detail simply doesn't exist. Enable the upscale toggle only when you genuinely need the bigger canvas, and start from the largest source file.
What is the difference between resizing and cropping?
Resizing scales the entire image to new dimensions. Cropping cuts a region out and keeps it at its original detail. Resizing keeps all your content, cropping loses whatever falls outside the frame. Cover is where the two meet, since it fills the target box by cropping the overflow.
When should I use Cover instead of Contain?
Use Cover when the box must be completely full and losing the edges is fine, which suits thumbnails, banners, and hero images. Use Contain when every part of the image matters and you would rather have padding than cropping, which is typical for documents, product shots, and form uploads.
My form wants a specific KB size, not just dimensions. What do I do?
Resize to the required pixel dimensions first, then compress toward the KB target with a quality-aware compressor. ImageToolkit's Compress tool accepts a target size in KB. Chasing a weight limit by shrinking pixels usually wrecks the image long before the number gets low enough.
Is the ImageToolkit resize tool free, and what happens to my files?
It is free with no account and no watermark. Uploads are capped around 15 MB, resizing runs on the server so the output genuinely carries the pixels you asked for, and nothing is kept as a browsable gallery afterward.