
5 min read · September 24, 2026
How to Pixelate an Image Online for Faces Screenshots and Private Details
Learn how to pixelate an image online to hide faces, IDs, and screenshot text. Compare pixelate vs blur, pick a strong block size, and redact only the region that needs privacy.
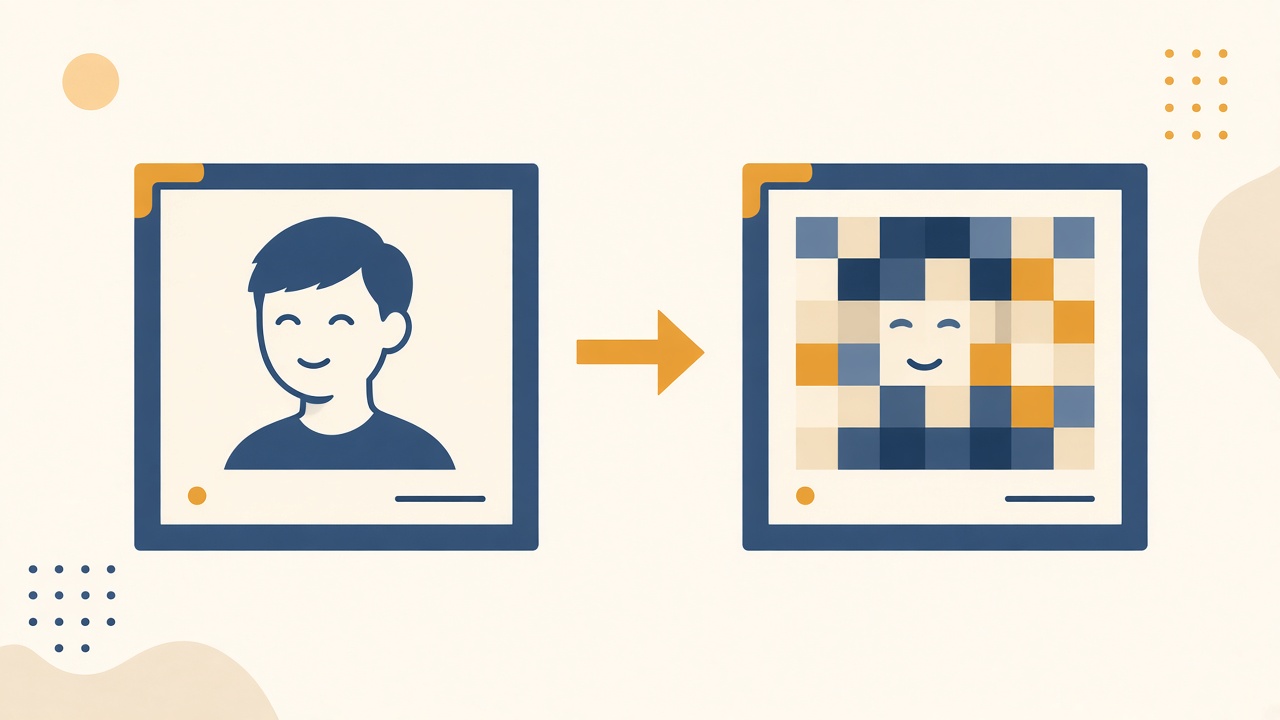
When a clear photo is the wrong thing to share
You take a support screenshot. An email, an account number, or a customer name sits right in the middle of the frame. Or you snap a street photo and a strangers face ends up sharp in the background. Hitting Share without a redaction pass publishes that detail to whoever gets the link.
Pixelation is the familiar mosaic fix. The area turns into chunky blocks so the detail underneath is no longer readable, while the rest of the picture stays sharp. Guides that already rank for this job, from Redacted to Upsampler and Pixellize, treat it as a privacy habit, not a design gimmick.
This article walks through how to pixelate an image online with the ImageToolkit Pixelate tool. Pick a region, set block size, and download the redacted file. Free, no account, no watermark.
"Pixelate a region when you need an obvious, hard to read mosaic on faces, numbers, or screenshot text"
What pixelation actually does to a photo
A pixelate pass divides the selected area into a grid and fills each cell with one averaged color. Fine detail like eyes, digits, and small type disappears into the mosaic. That is why people search for ways to pixelate a face in a photo, redact a screenshot, or censor a license plate before posting.
The ImageToolkit tool is regional, not whole-image by default. You define a rectangle with x, y, width, and height. Only that box gets the mosaic. Everything outside stays crisp, which is what you want for support tickets, UI demos, and group photos where one person needs cover.
Pixel size runs from 2 to 256. Small values leave more texture. Large values create bigger blocks and hide more. The live overlay lets you judge the region before you commit. After convert, the download uses a pixelate suffix so you can spot redacted files in a folder.
One honest note. Preview starts in the browser. Convert sends the region settings to the server and returns a new file. If your threat model forbids any server touch for that image, use a fully offline editor instead. ImageToolkit is built for a fast redaction pass with clear limits of 15 MB per image and up to 6000 pixels on a side.
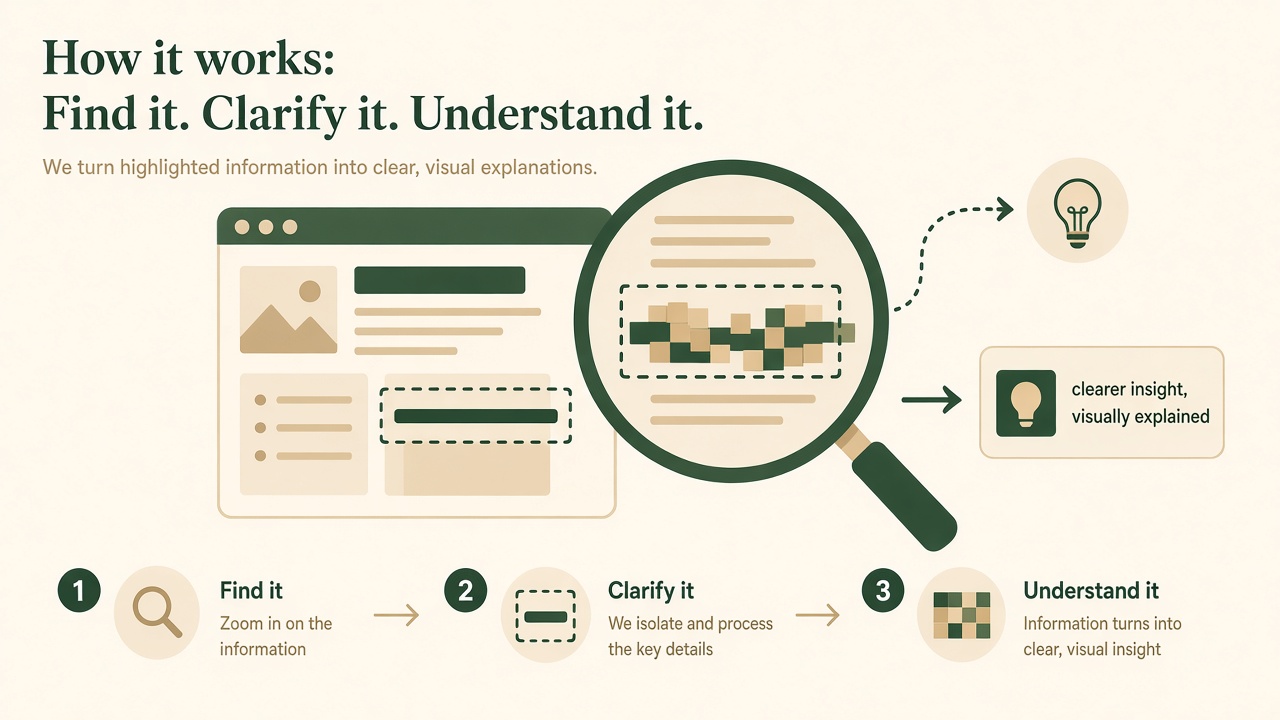
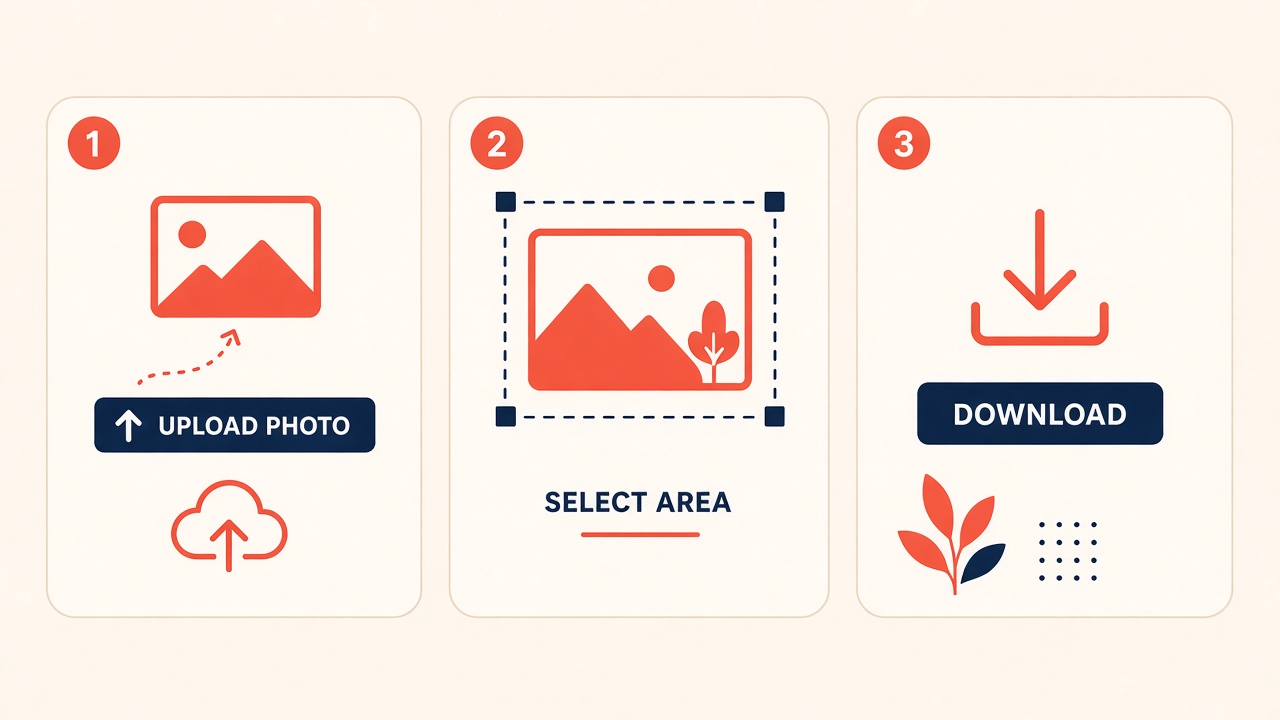
How to pixelate an image in three steps
1. Upload the photo or screenshot
Open Pixelate and drop a file under 15 MB. Use the original when you can. A second-generation screenshot of a screenshot wastes clarity outside the mask.
2. Select the region
Mark the rectangle that should disappear. Face, ID field, email line, badge, or production data in a UI shot. Cover a little past the edges of a face, including hairline, jaw, and ears. Ranked privacy guides keep repeating that tip because a tight crop leaves the outline recognizable.
3. Set pixel size, convert, download
Push the block size up until you cannot read the detail at full zoom. Convert, then save the redacted output. The tool is not designed to reverse the mask from the same file, which is the point of a redaction pass.
If you also need a softer look on background people, the ImageToolkit Blur and Background Blur tools sit next to this one in the edit suite.
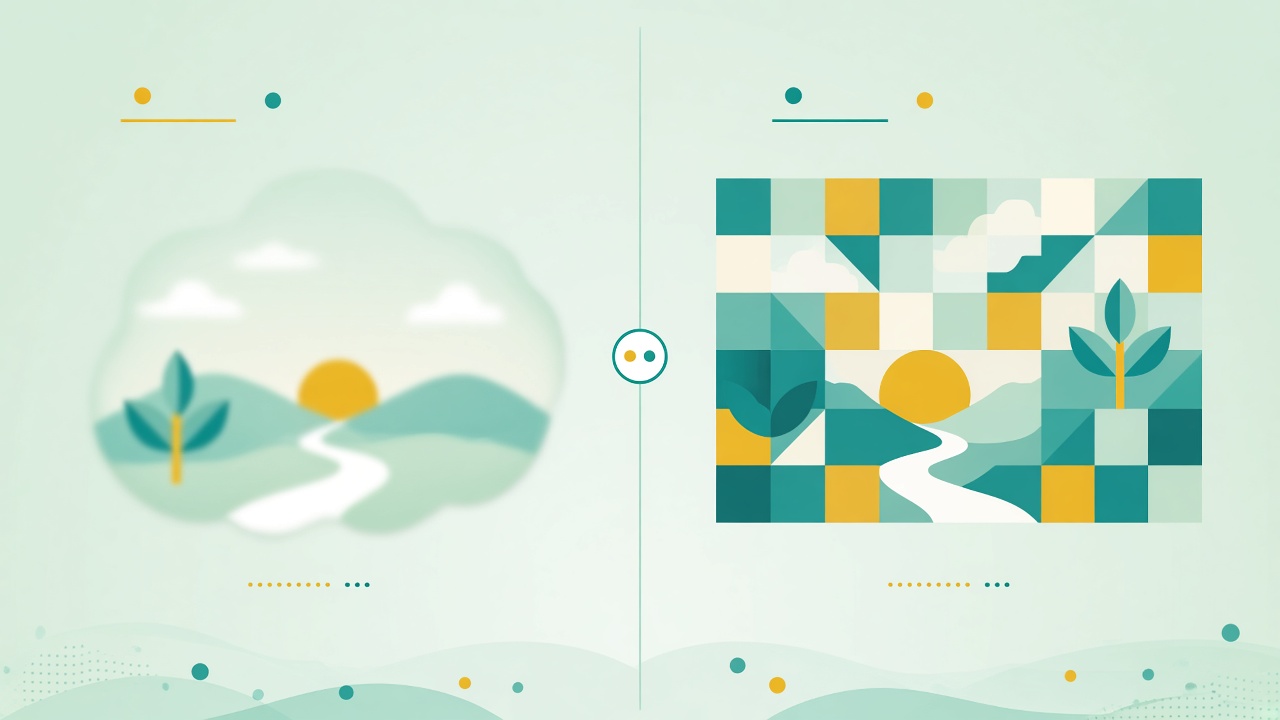
Pixelate vs blur which hides detail better
Both obscure content. They do not feel the same.
| Approach | Look | Better when |
|---|---|---|
| Soft blur | Smooth haze | Casual bystander cover, aesthetic de-emphasis |
| Pixel mosaic | Obvious blocky censor | Faces, numbers, screenshot text you want clearly marked as hidden |
| Solid fill elsewhere | Opaque bar or box | Highest-risk IDs when appearance does not matter |
Comparisons from Blur Face and ImagePixelator land in the same place. A weak blur can leave facial structure readable, and light effects are sometimes partly recoverable. Coarse pixelation with large blocks throws more detail away and signals intentional redaction. That is useful in docs, news-style posts, and support packs.
Rule of thumb for ImageToolkit. If you can still make out eyes, digits, or letters after zooming the preview, raise pixel size. For passwords or full card numbers where even mosaic feels too soft, prefer a solid cover in a dedicated editor, then come back here for faces and mid-risk fields.
Jobs where regional pixelation earns its keep
These match the everyday cases on the Pixelate tool page.
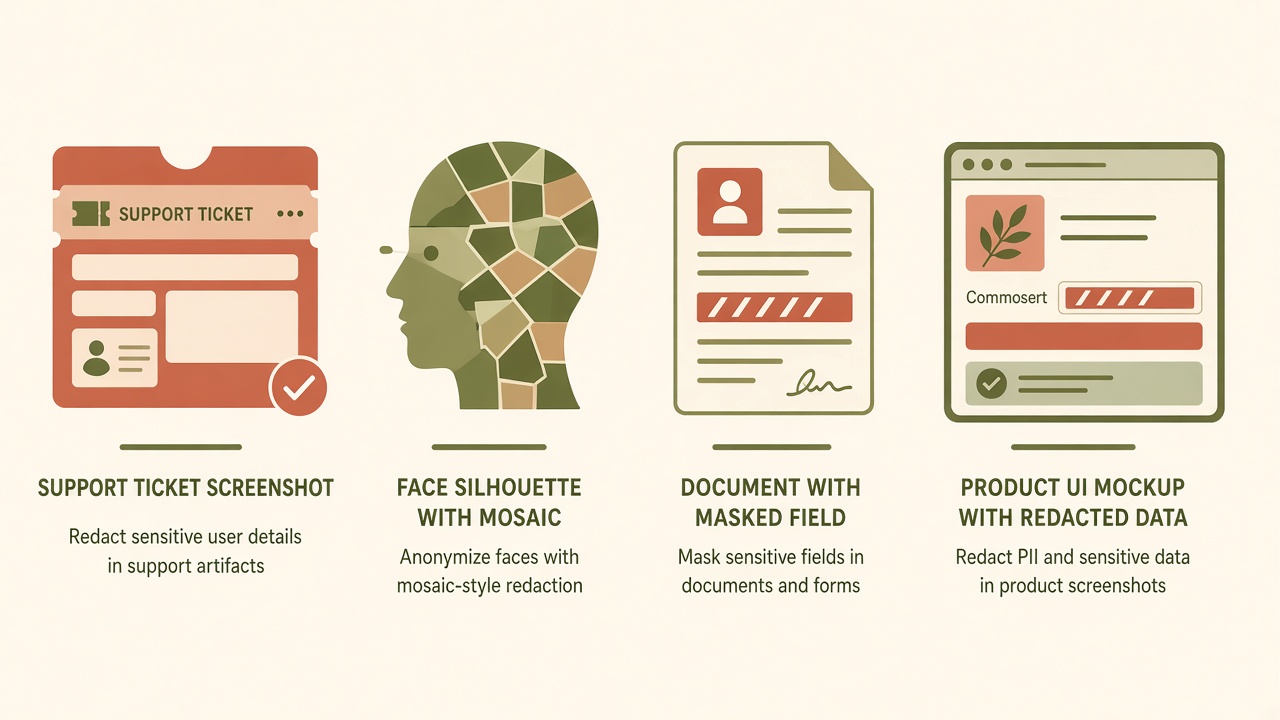
Support screenshots
Hide emails, IDs, or account numbers before you paste into a ticket. Leave the bug UI visible so the engineer still sees the problem.
Face privacy
Redact bystanders or kids in a group shot before social posts. Extend the box past the face outline.
Document shares
Mask private fields on a form scan or ID crop you only need to prove format, not published data.
UI demos and product shots
Scramble production names, balances, or internal URLs in marketing screenshots.
After the visual pass, strip leftovers if the file still carries location or device tags. The ImageToolkit metadata remover pairs well here. Ranked writers call that out constantly. Pixels are half the story. EXIF is the other half. See Upsampler and Pixellize.
Mistakes that leave private detail readable
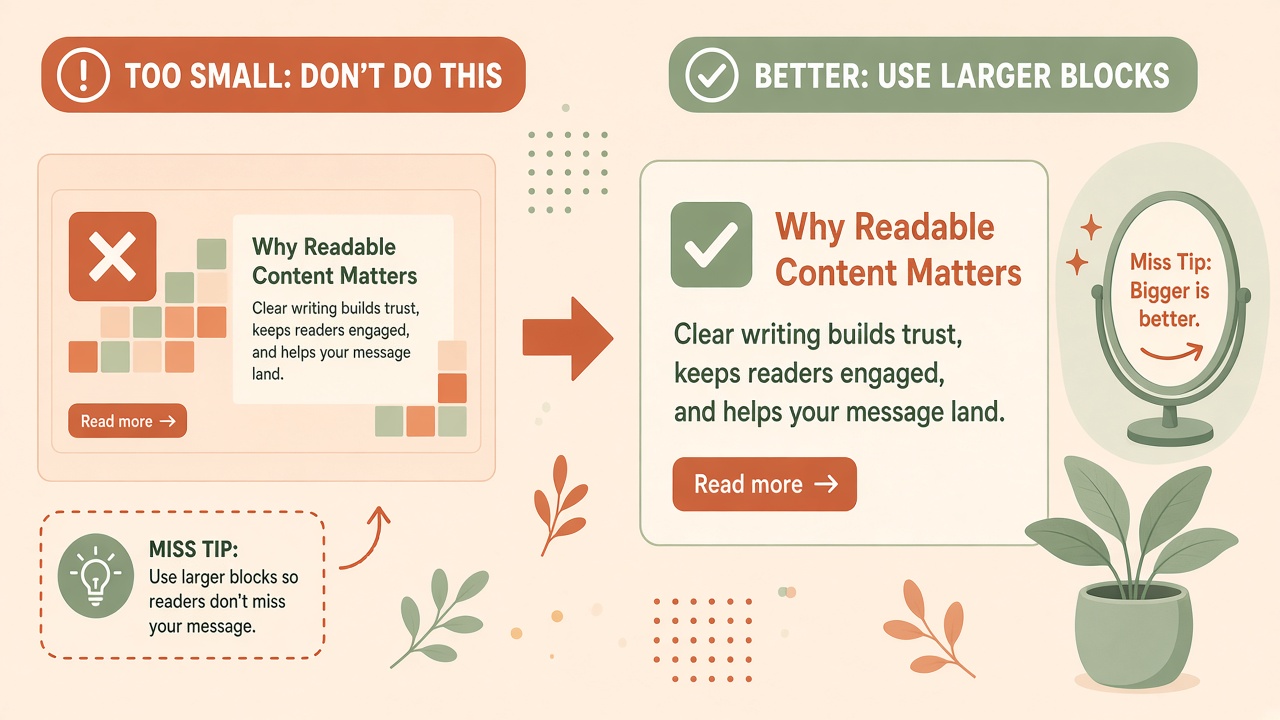
- Blocks too small. Tiny mosaics still map light and shadow. Push pixel size until features collapse.
- Region too tight. Ears, hair, name tags, and clothing logos identify people too.
- Missed second copies. Reflections in glass, mirror selfies, picture-in-picture video frames.
- Trusting zoom-out review only. Check the export at 100 percent zoom on a large screen.
- Skipping metadata. Pixelation does not clear GPS or camera tags by itself.
- Pixelating a compressed thumbnail. Start from a clear original, redact, then compress if the share target needs a smaller file.
If the next step is a cutout for design, not privacy, use the background remover guide instead. Need text out of a scan rather than hidden? That is OCR.
Key takeaways
- Pixelate a region when you need an obvious, hard to read mosaic on faces, numbers, or screenshot text
- Prefer large block sizes. Judge strength at full zoom, not from a tiny preview
- Cover slightly more than the sensitive area so outlines and labels do not leak identity
- ImageToolkit Pixelate is rectangular, pixel size 2 to 256, free, with a pixelate download. Preview in the browser, convert on the server
- Pair with strip metadata when location privacy matters
- Start on the free Pixelate tool, then browse more utilities from the homepage or all tools
Frequently asked questions
How do I pixelate an image online for free?
Upload a photo to ImageToolkit Pixelate, select the rectangular region to hide, set pixel size until the detail is unreadable at full zoom, convert, and download. No account and no watermark.
Does Pixelate blur the whole image?
No. You choose a rectangle with x, y, width, and height. Only that area is pixelated. The rest stays sharp, which is useful for redacting faces or text without wrecking the full frame.
Is pixelate better than blur for privacy?
For many redaction jobs, yes. Coarse mosaic blocks hide detail more clearly and look intentionally censored. A weak blur can leave facial structure or digits readable. Raise strength either way, and verify at 100 percent zoom.
How strong should the pixel effect be?
ImageToolkit allows pixel size from 2 to 256. Larger values create bigger blocks and hide more. Push until you cannot recognize the face or read the text even when zoomed in.
What if my selection goes past the image edge?
The server clamps the rectangle to the image bounds, so oversized regions still process without failing the request.
Where does processing run?
Preview is browser-side. Convert sends the region settings to the server and returns a new file with a pixelate suffix.
What are the upload limits?
Same utility caps as other ImageToolkit tools. About 15 MB per image and 6000 pixels max on either side.
Can I recover the hidden detail from the pixelated file?
The tool is not designed to reverse the mask. Strong pixelation discards detail in the selected region. Still inspect the export carefully before you share.