
5 min read · September 22, 2026
How to Remove Background from an Image and Get a Transparent PNG
Learn how to remove background from an image and download a transparent PNG for product photos, portraits, and design work. Free steps, edge tips, and a simple ImageToolkit workflow.
Why people need to remove background from an image
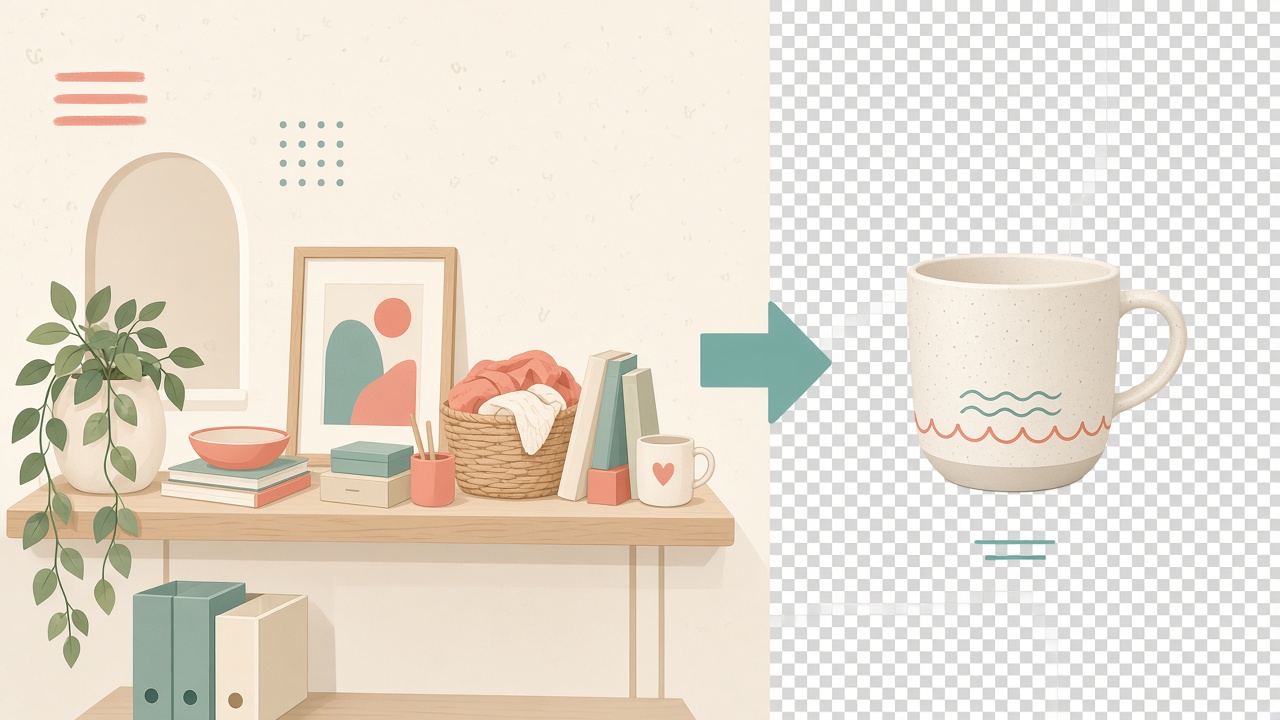
You shoot a product on a kitchen counter. You take a profile photo in a busy room. You need the subject alone for a listing, a resume header, or an ad. The background is noise. That is why so many searches start with remove background from an image or remove background from photo.
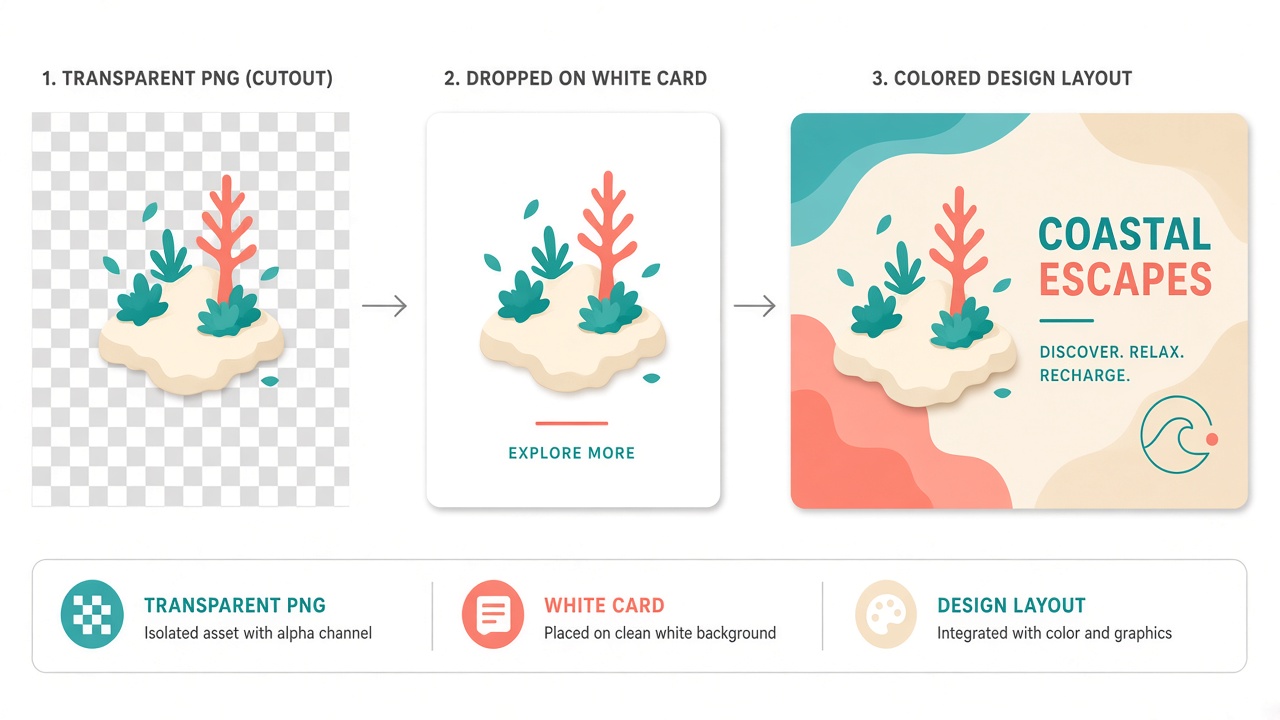
Quick answer: upload a clear subject photo, run a background cutout, preview the edges on a checkerboard, then download a transparent PNG. JPEG cannot keep empty pixels. PNG can. That single format difference is what lets you drop the same cutout onto white, brand color, or a new scene later.
This guide covers what a transparent PNG actually is, when automatic cutouts work well, where hair and similar colors still struggle, and how to run the job with ImageToolkit's background remover without turning the page into an ad.
"Remove background from an image when the subject needs to move into listings, profiles, or layouts on its own"
What a transparent PNG is (and why JPG fails here)
A transparent PNG stores an alpha channel. Empty areas stay empty instead of filling with white or black. That is why designers, sellers, and marketers ask for PNG after they remove bg from a shot.
JPG is great for everyday photos, but it does not support transparency. If you export a cutout as JPG, the checkerboard disappears and you get a solid fill. Keep the PNG as your master file. Flatten to JPG only when a marketplace or email system demands it.
If you need a different format later, convert after the cutout with the image converter. For a clear primer on which formats support transparency, the MDN image types guide is still a solid reference.
How to remove background from a photo in 3 steps
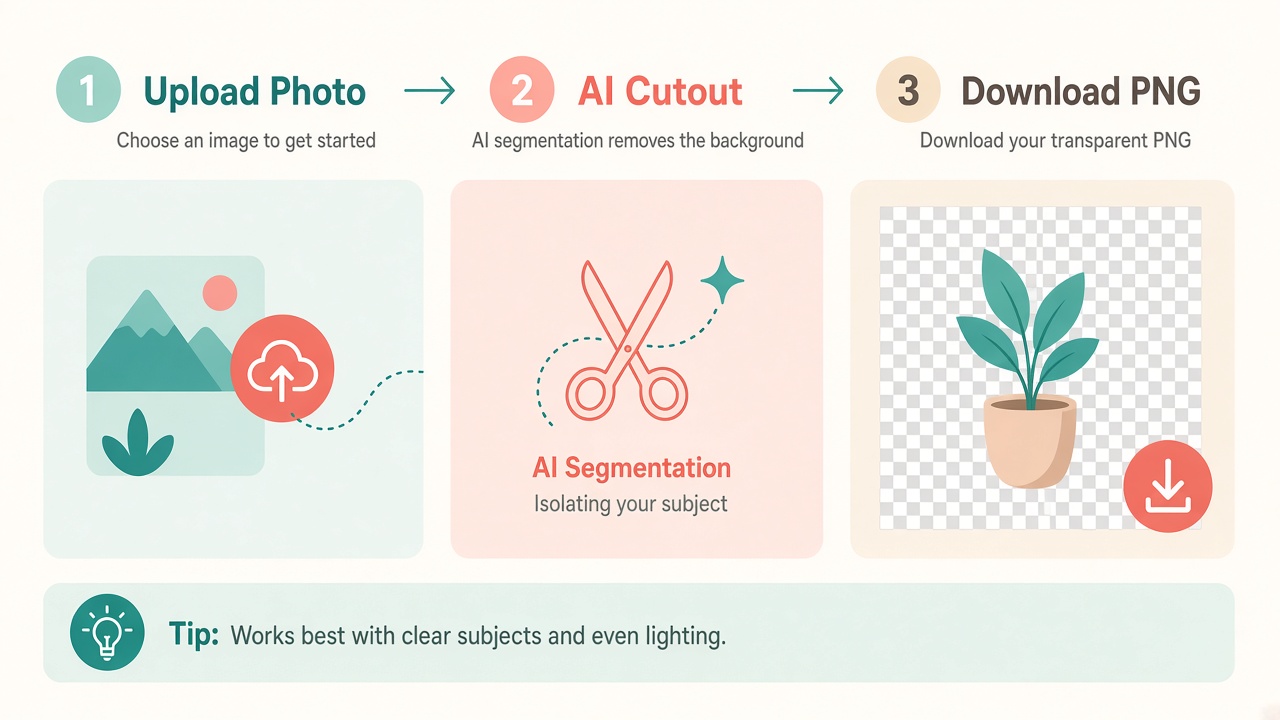
You do not need a layered editor for a single subject cutout. A focused image background remover is enough when the photo has a clear subject and decent contrast.
1. Upload a subject photo. Prefer a sharp file under 15 MB, with the subject filling a useful part of the frame. Extremely large dimensions can hit tool limits, so keep either side within the utility cap (ImageToolkit allows up to 6000 pixels on a side).
2. Run the cutout. ImageToolkit's tool runs subject segmentation on the server with rembg, then returns a preview. The first call on a cold host can take longer while the model loads.
3. Check the checkerboard preview, then download the transparent PNG. Downloads are named with a `_nobg.png` suffix so you can spot them in a folder.
Try the free background removal tool when you want that flow without an account or watermark. No permanent gallery is kept afterward.
When automatic cutouts work best
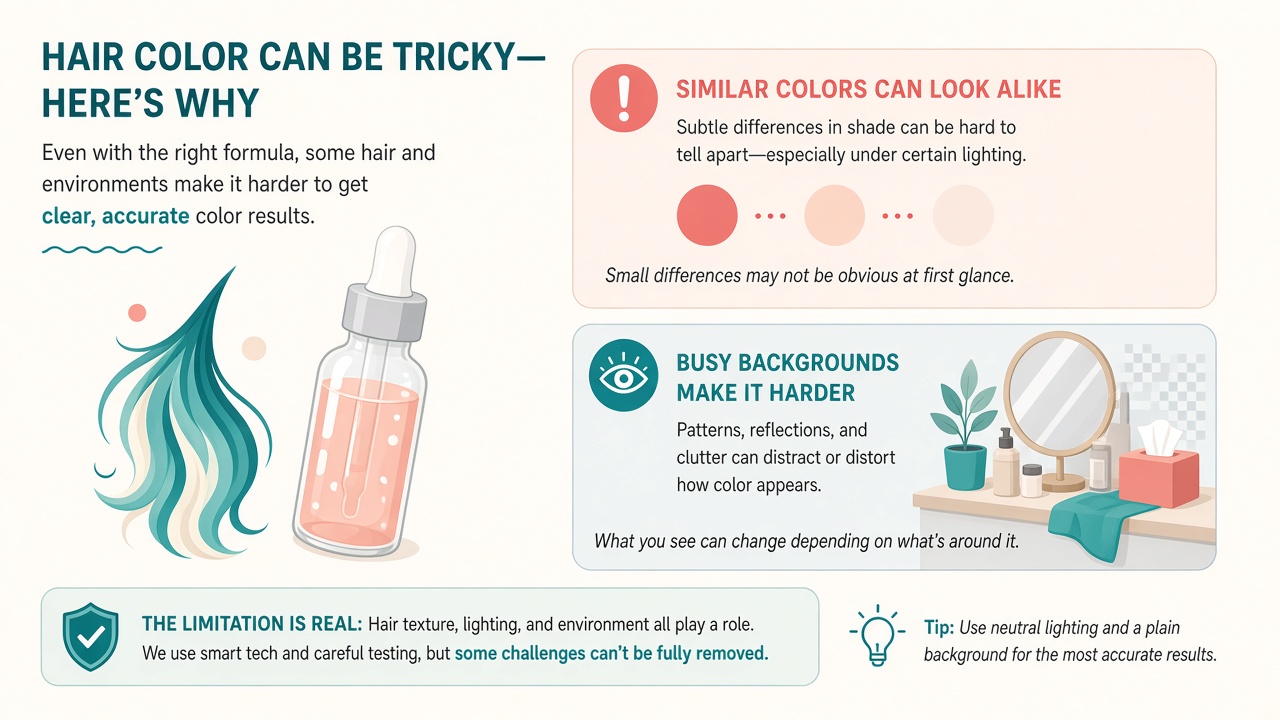
Automatic tools shine when the subject is obvious: one product, one person, or one object against a backdrop that does not match their colors. Soft, even light helps. Hard outdoor clutter, busy shelves, and blended tones make the job harder.
Practical setups that usually look clean first try:
A product on a plain table with clear edges
A portrait with contrast between hair or clothing and the wall
A logo or graphic already sitting on a simple field
If the subject is tiny in the frame, crop or resize first so the model sees clearer edges. Starting from a higher-resolution original almost always beats uploading a soft thumbnail.
Product photos, portraits, and design use cases
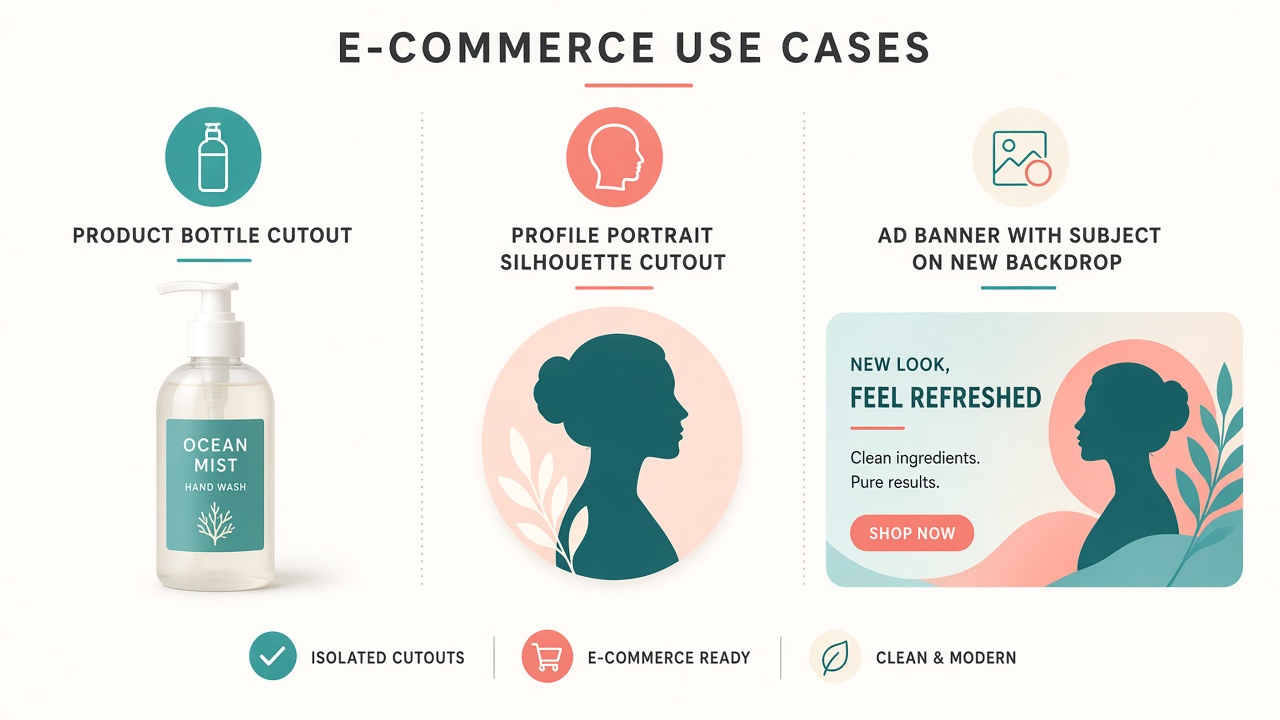
Remove background from product photo workflows are the everyday use case for sellers. Busy shelves vanish so the item can sit on white for a store grid or stay transparent for ads. Portrait cutouts feed profile cards and headers. Design templates and banners reuse one subject across several scenes.
ImageToolkit lists the same jobs on the tool page: product shots, profile photos, design templates, and ads. After you have a clean PNG, you can place it on a new scene with the background replacer, or soften only the backdrop with background blur when you want depth instead of a hard cutout.
Marketplace note: many stores want a pure white main image. Transparent PNG is still the flexible master. Place it on white later, or keep transparency for brand layouts. Do not save the master as JPG if you still need alpha.
Hair, fine edges, and other hard cases
This is where honest tools earn trust. Fine hair, transparent glass, fur, lace, and subjects that share color with the backdrop can leave soft or incomplete edges. ImageToolkit says the same on its Background Remover page: clear subjects on contrasting backgrounds usually cut out cleanly; complex edges need a careful preview before you download.
Tips that help without promising perfection:
Shoot or pick photos with contrast between subject and backdrop
Avoid uploading a phone screenshot of a photo when you have the original
Zoom the checkerboard preview around hair, straps, and thin product edges
If the cutout clips a limb or leaves backdrop crumbs, try a cleaner source photo rather than forcing the same file three times
Manual Photoshop masking still wins on the worst cases. For everyday listings and social assets, a good automatic pass plus a quick visual check is often enough.
Common mistakes when you remove an image background
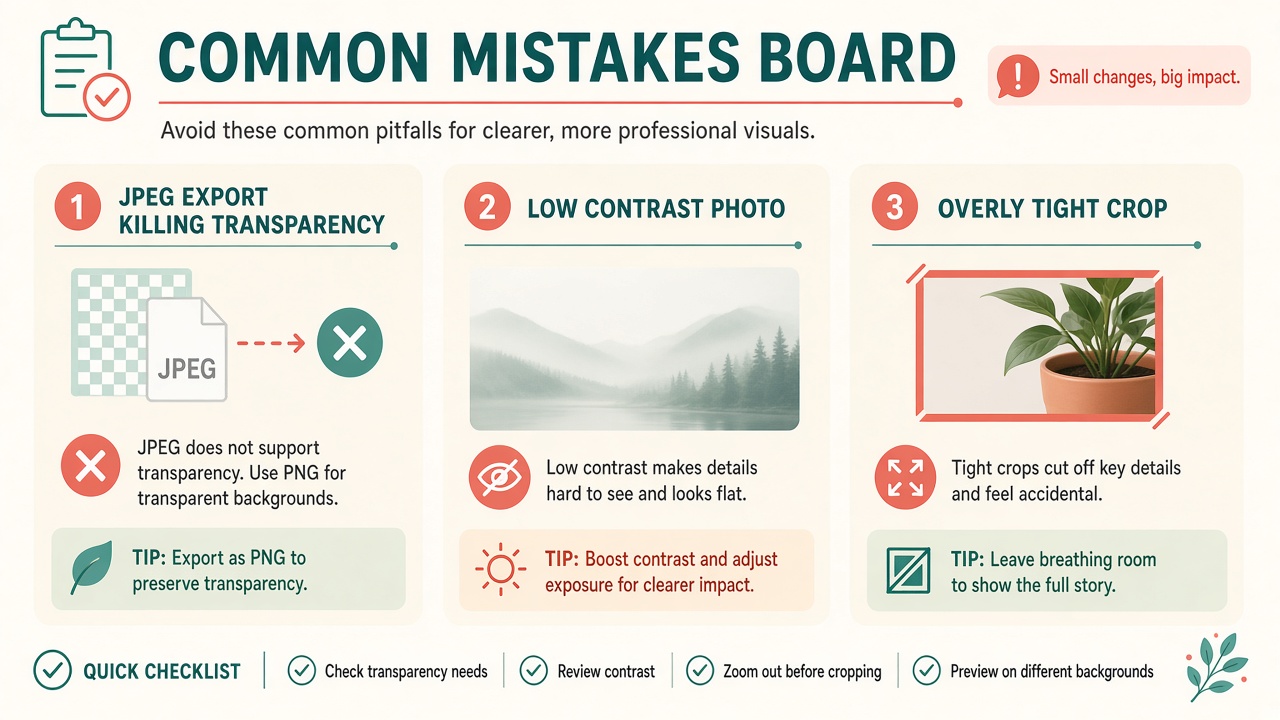
Exporting as JPG and wondering where the transparency went
Using a low-contrast photo (white product on a white table)
Cropping so tight that the tool loses edge context
Skipping the checkerboard preview and noticing halos only after upload to a store
Compressing the PNG so hard that edges look muddy before you even place it
If a listing also has a file size cap, finish the cutout first, then use a quality-aware compress flow. Our guides on compressing images without losing quality and compressing to an exact KB target cover that second step. For storefront protection, add a light mark with the watermark tool after the cutout looks right.
Key takeaways
Remove background from an image when the subject needs to move into listings, profiles, or layouts on its own
Download a transparent PNG as your master file; JPG cannot keep alpha
Clear subjects and decent contrast produce cleaner automatic cutouts
Preview hair and fine edges on a checkerboard before you trust the file
Use ImageToolkit's free background remover for a simple upload, cutout, and PNG download flow
Explore more utilities from the ImageToolkit homepage or the all tools directory when you need resize, replace, blur, or compress next
Frequently asked questions
How do I remove the background from an image online?
Upload a clear subject photo to a background remover, run the cutout, check the preview, then download a transparent PNG. On ImageToolkit, open Background Remover, upload up to 15 MB, run the segmentation pass, and download the _nobg.png file.
Why do I need a transparent PNG after background removal?
PNG can store transparency. That lets you place the subject on white, brand color, or a new scene without a leftover rectangle. JPG fills empty areas, so it is a poor master format for cutouts.
Can I remove background from a product photo for ecommerce?
Yes. Product shots are one of the main uses. Start with good contrast, download a transparent PNG, then place it on pure white for marketplace hero images or keep transparency for ads and templates.
How clean are hair and fine edges with automatic tools?
Clear subjects on contrasting backgrounds usually look clean. Fine hair, transparent objects, and colors that blend into the backdrop can leave soft or incomplete edges. Always check the checkerboard preview before you publish.
Does ImageToolkit keep my cutouts?
No permanent gallery. The PNG is produced for the request and returned for download. Nothing is stored as a browsable library afterward.
Is ImageToolkit's background remover free?
Yes. The tool page offers free use with no account and no watermark, within the stated upload limits (about 15 MB per image and up to 6000 pixels on either side).