
7 min read · September 22, 2026
Compress Image to Exact KB Online Free: Hit 50KB, 100KB and 200KB Targets
Learn how to compress image to exact KB online free for government forms, job portals and email. Hit 50KB, 100KB or 200KB with ImageToolkit free online image compressor.
Why you need to compress image to exact KB for online forms
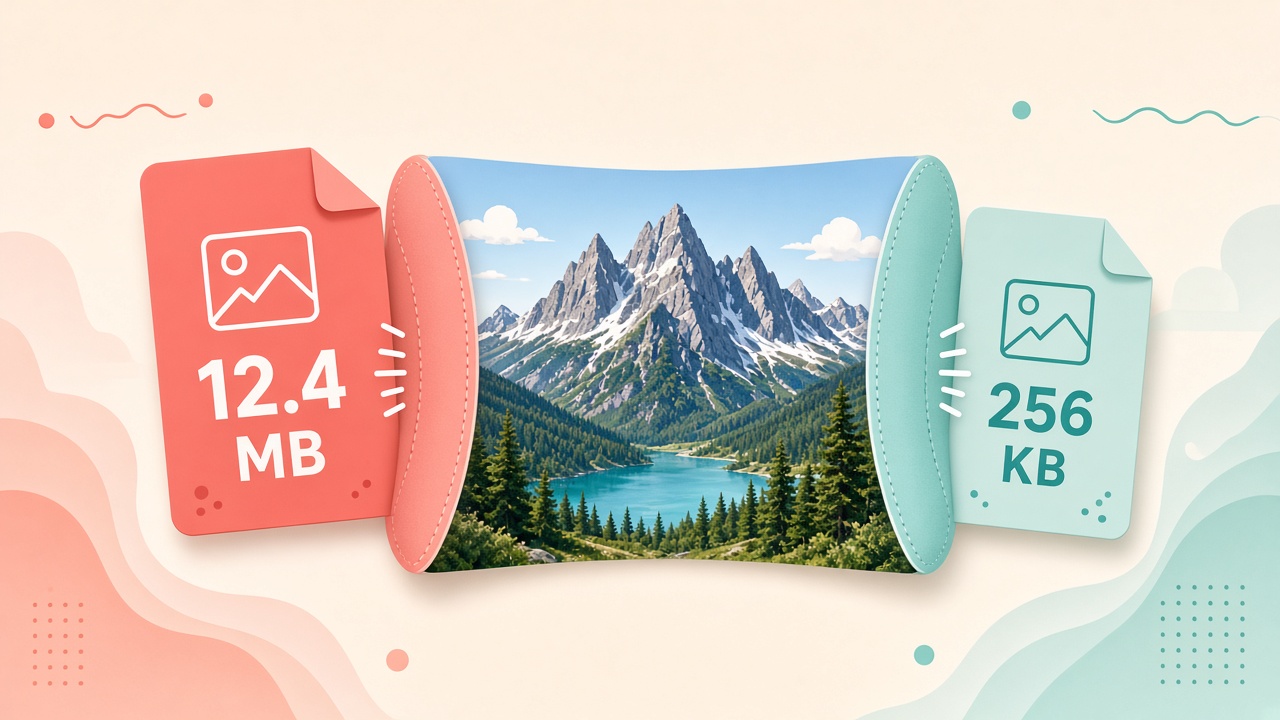
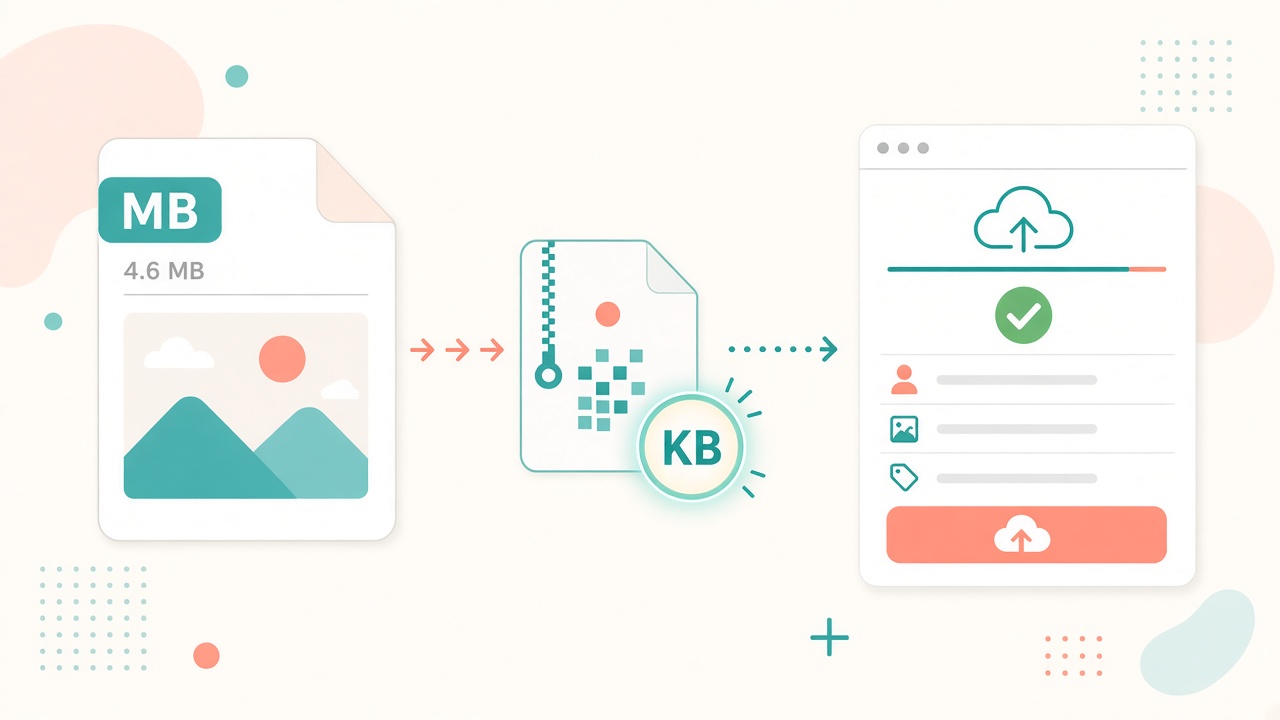
Your phone camera saves a photo at 4 MB or 8 MB. Then a government portal, exam site or job board says the file must stay under 200 KB. You hit a vague Compress button, download again, and the form still rejects it. That loop is why people search for ways to compress image to exact KB instead of guessing a quality percentage.
Upload validators only check bytes. They do not care that your photo looks fine on a phone screen. So the real job is simple: type the limit on the form, run a free online image compressor, and download a file that lands at or under that number.
This guide walks through that workflow the way real applicants use it. You will see how to compress image to 100KB, how to compress image to 200KB, when 50KB makes sense, and how ImageToolkit keeps the steps short for forms, email and marketplace uploads.
"Follow us on Instagram"
What does compress image to exact KB mean?
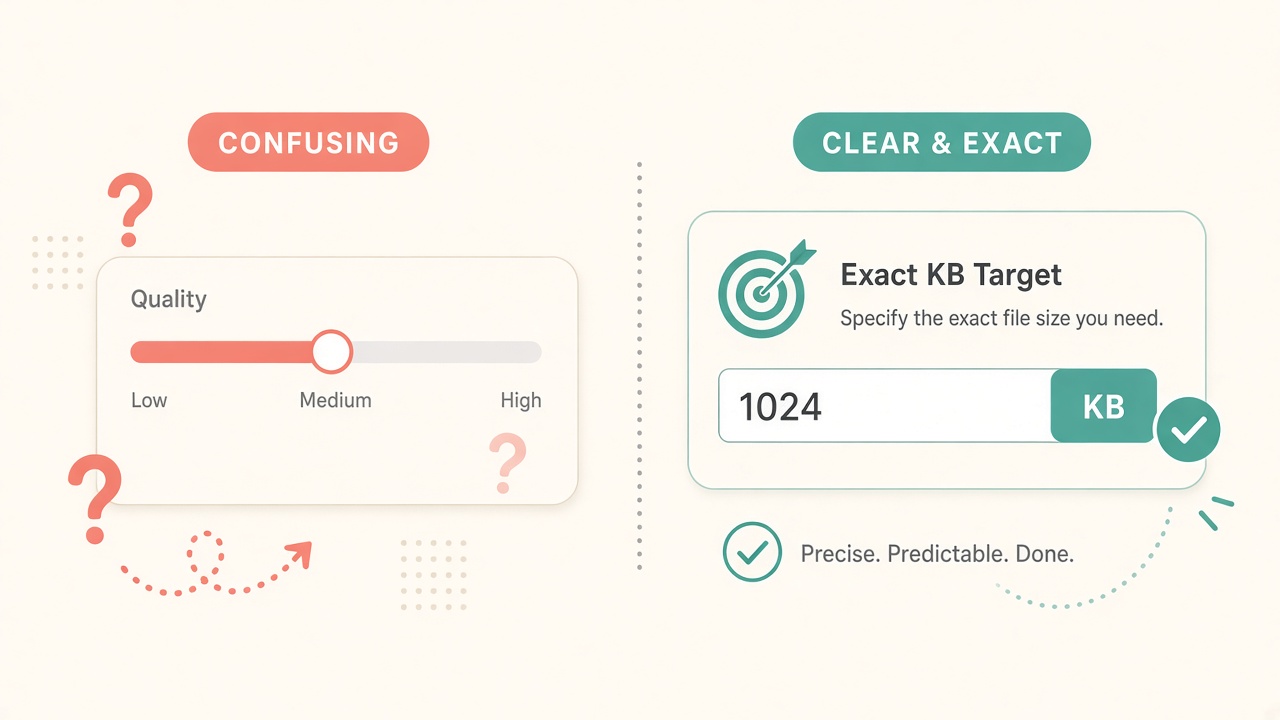
Most editors give you a quality slider. You drag it to 70, check the size, then drag again. Exact KB mode flips that. You set the target first. The tool searches for the highest quality that still fits under the cap.
That is the difference between reduce image size somehow and reduce image size in KB to the number a portal wrote on the page. Long-tail searches like compress photo for government form, compress JPG to 100KB for online form, and reduce image size to 50KB for exam all point to the same need: pass the validator on the first try.
Formats matter too. JPEG works best for photos because quality can move in small steps. PNG is better for logos and sharp screenshots, but it fights tiny KB targets. If you need a deeper look at quality-first settings, read our companion guide on how to compress images without losing quality.
How to compress image to exact KB online in 3 steps
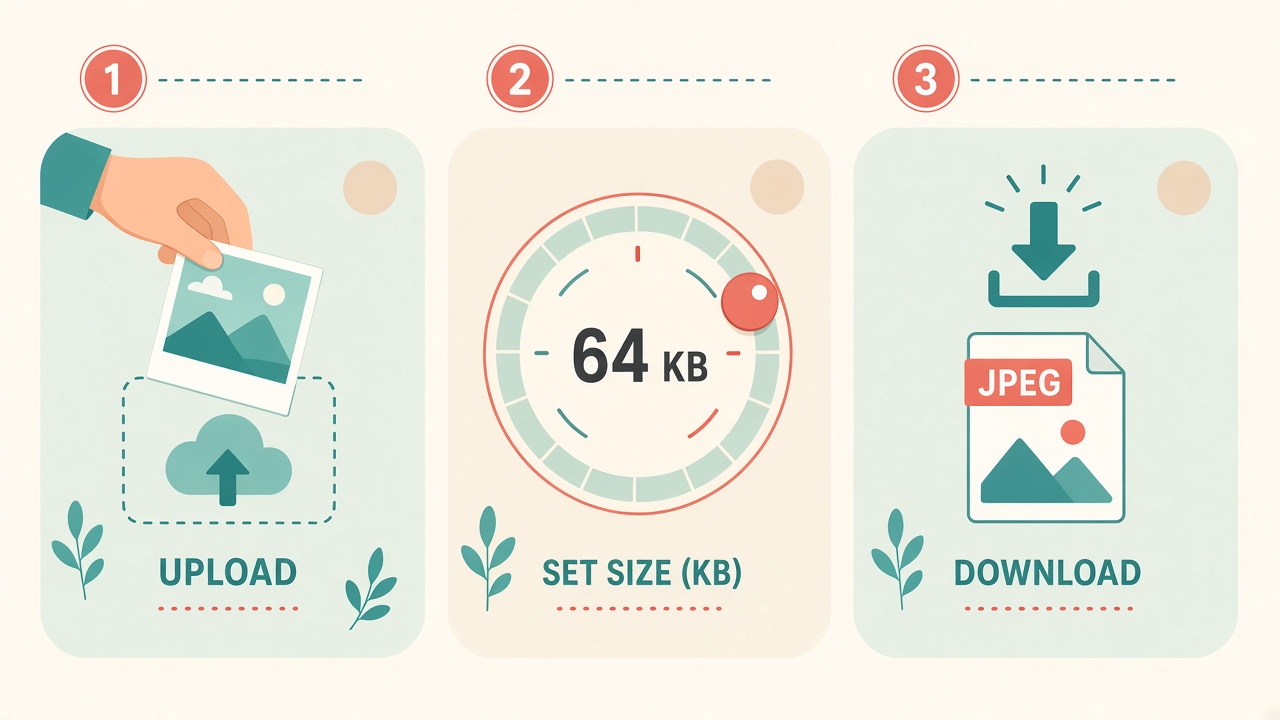
Open the image compressor on ImageToolkit. You can drop one file, queue a bulk ZIP of up to 20 images, or paste a public image URL. Common inputs include PNG, JPG, WEBP, BMP, GIF and TIFF. Each file can be up to about 15 MB, and bulk uploads stay under a combined 50 MB limit.
If the form also demands pixel size, for example 200 x 230, fix dimensions first with the image resizer. Portals usually check width and height separately from file size, so order matters: resize, then compress.
Next, set the target. Use a preset such as 50 KB, 150 KB or 200 KB, or type a custom value. Common long-tail targets look like this:
Compress image to 20KB or 50KB for signatures and strict exam photo fields
Compress image to 100KB for many ID, KYC and government photo uploads
Compress image to 200KB for job portals, university forms and clearer document scans
500 KB to 1 MB for email attachments and product gallery shots
Then download the JPEG, or a ZIP if you ran a batch. Keep the original master file. Compression is one way, and you may need a second pass if the portal also changes its pixel rules.
Want to try it now? Use the free compress image to exact KB tool. No account and no watermark.
Compress image to 100KB or 200KB without losing quality
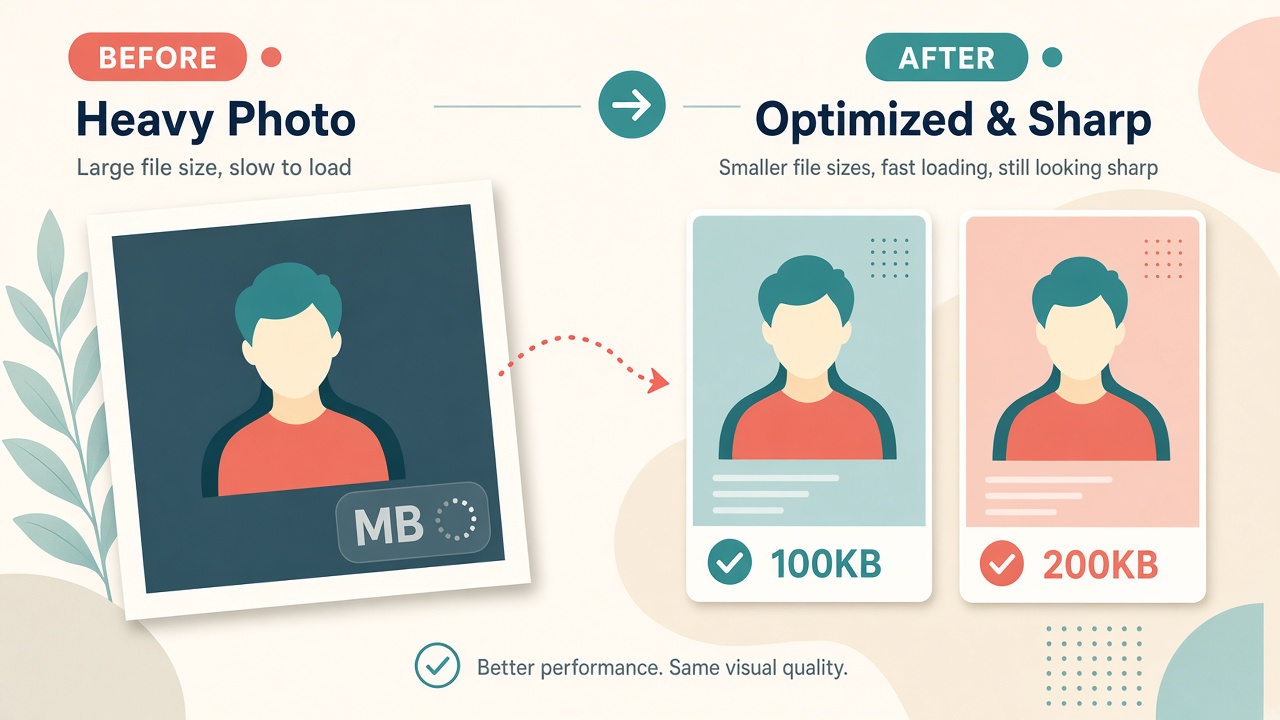
When people say compress JPG without losing quality, they rarely mean true lossless. They mean the photo should still look clean at the size the form displays. A passport-style face at 100 KB can stay sharp if you crop empty background first and avoid crushing the file to 20 KB for no reason.
Use these practical rules:
Crop before you compress so faces and text keep more detail
Prefer JPEG for photographic form uploads. Convert other formats with the image converter when needed
Match the form number. If the limit is 200 KB, target 200 KB. Going far below the limit only adds blur
Reduce pixel dimensions first when the source is a huge phone photo
Start from the original file. Do not compress a screenshot of a photo twice
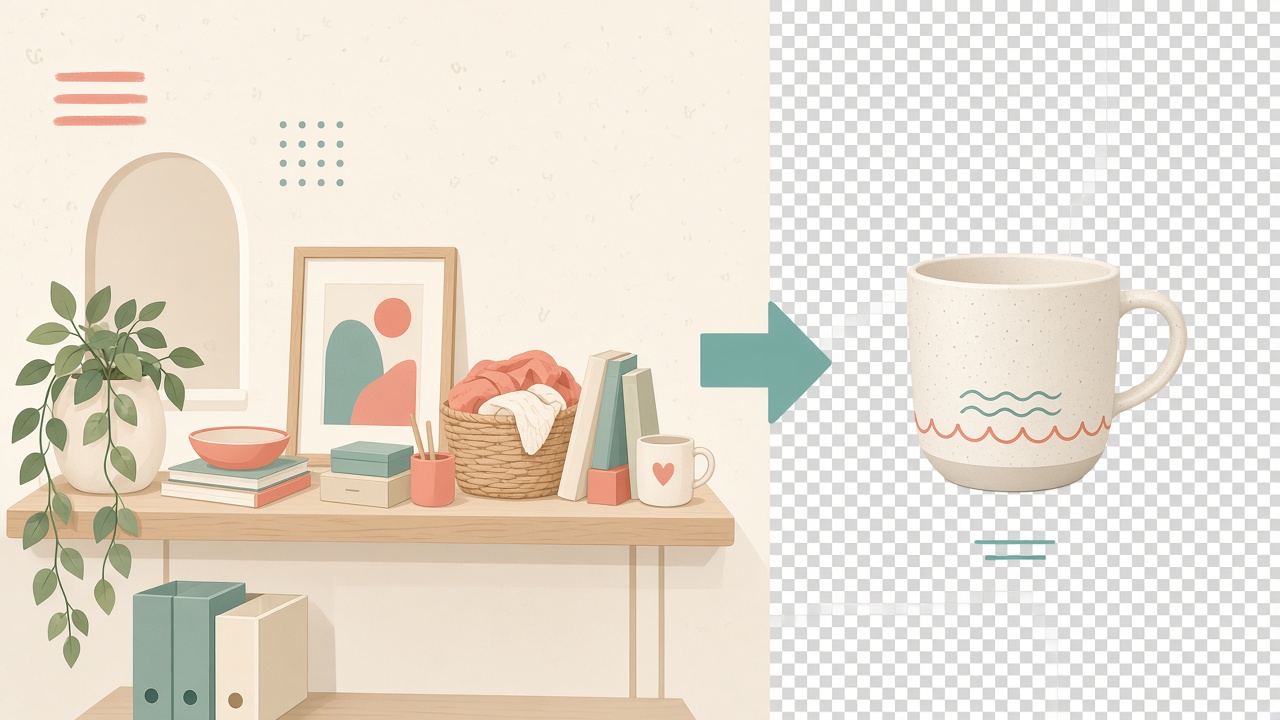
For product shots, remove a busy backdrop with the background remover before you chase a small KB target. For portfolio images, add a light mark later with the watermark tool.
If you care about web speed as well as form limits, lighter images also help page performance. Guides from web.dev on images and PageSpeed Insights still reward smaller assets. For format basics, the MDN image types reference is a clear overview.
Compress photo for government form, exam and job portal uploads
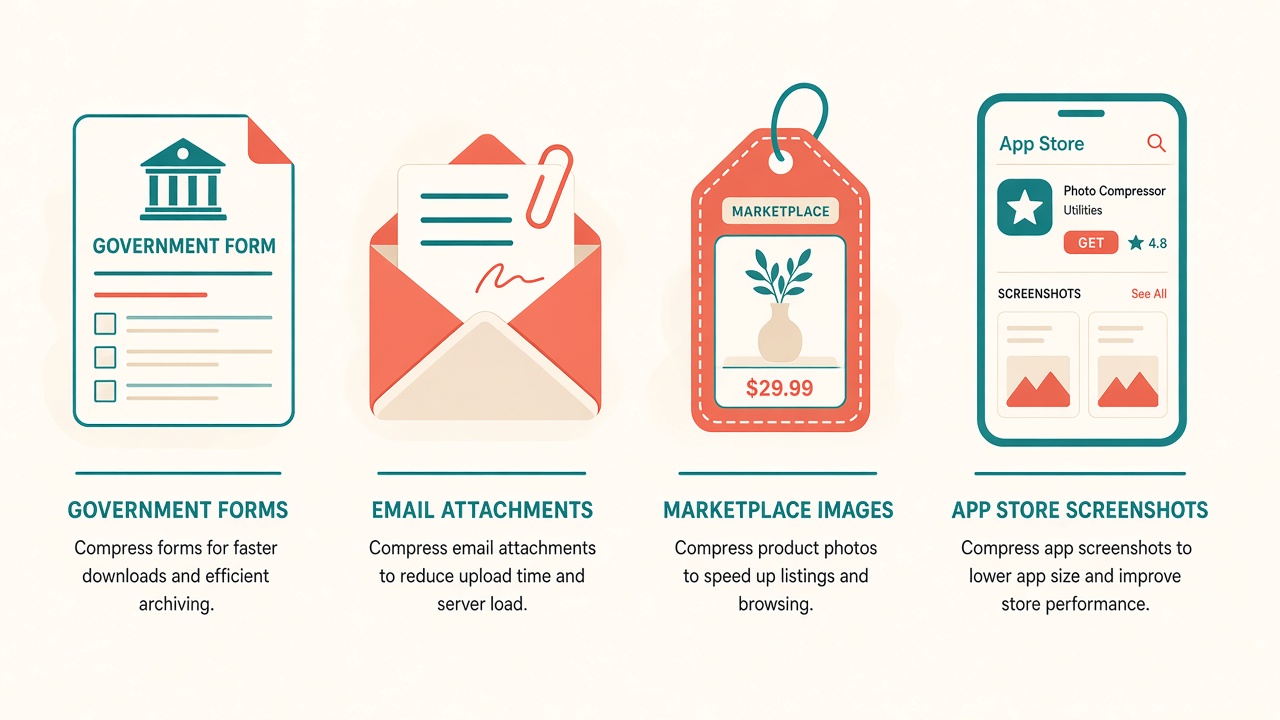
This is the top use case behind searches like image compressor for government forms and compress photo for online application. Limits such as 50 KB, 100 KB and 200 KB show up on visa pages, exam registrations, KYC checks and admission portals. The form error is usually File too large, with no hint about which quality setting would have worked.
A few patterns show up again and again:
Signature fields often sit near 20 KB to 50 KB
Passport-style photos often sit near 100 KB
Scanned certificates and clearer ID photos often allow 200 KB
Always read the form text for both KB and pixels. Then hit that exact pair. Tools such as Squoosh and TinyPNG are strong for general web compression. For a hard form cap, exact target mode on the ImageToolkit compressor is usually faster because you do not babysit a slider.
Bulk image compressor ZIP and compress from URL
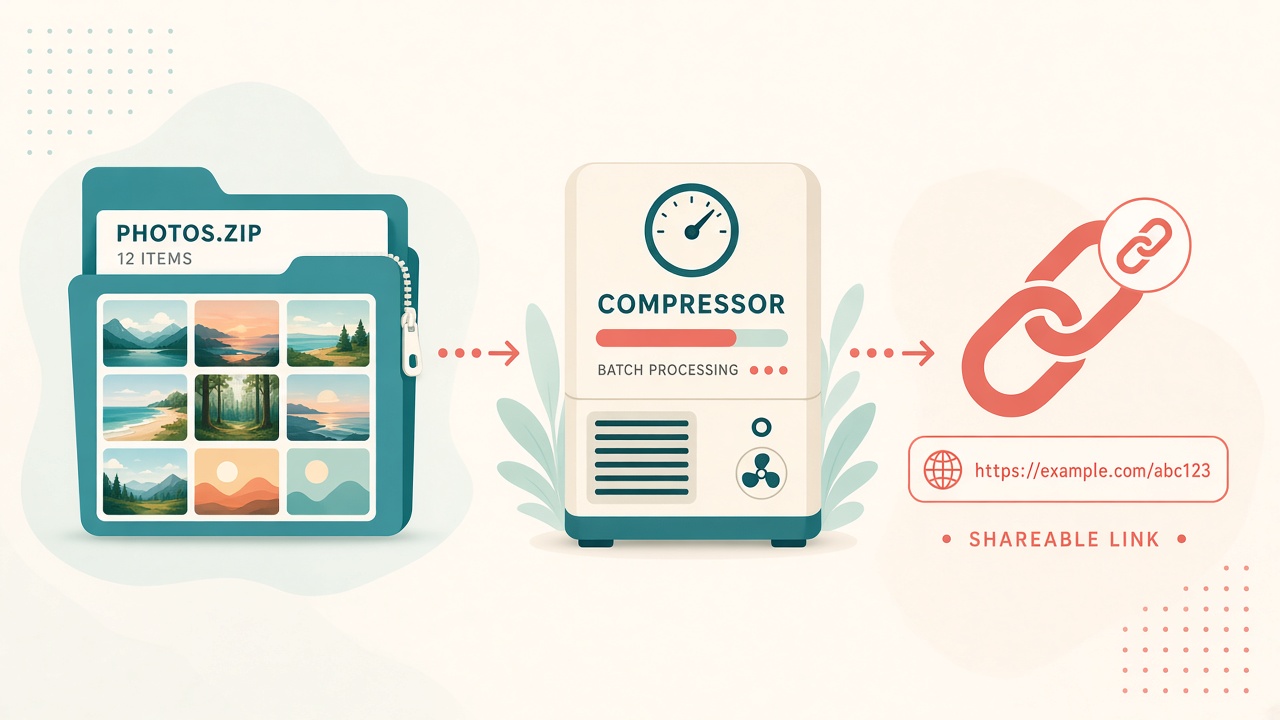
One photo is easy. A full folder is not. If you need the same limit on twenty product shots or certificate scans, use bulk image compressor ZIP mode. Set the target once, process the queue, and download one archive.
Public URL mode helps when the file is already online. Paste the link, run the same KB target, and download the result without saving the source locally first.
Mode cheat sheet:
Single upload for one passport or profile photo
Bulk ZIP for product folders and multi-document packs
URL fetch for remote images you need to test quickly
Explore more utilities from the ImageToolkit homepage or the full tools directory.
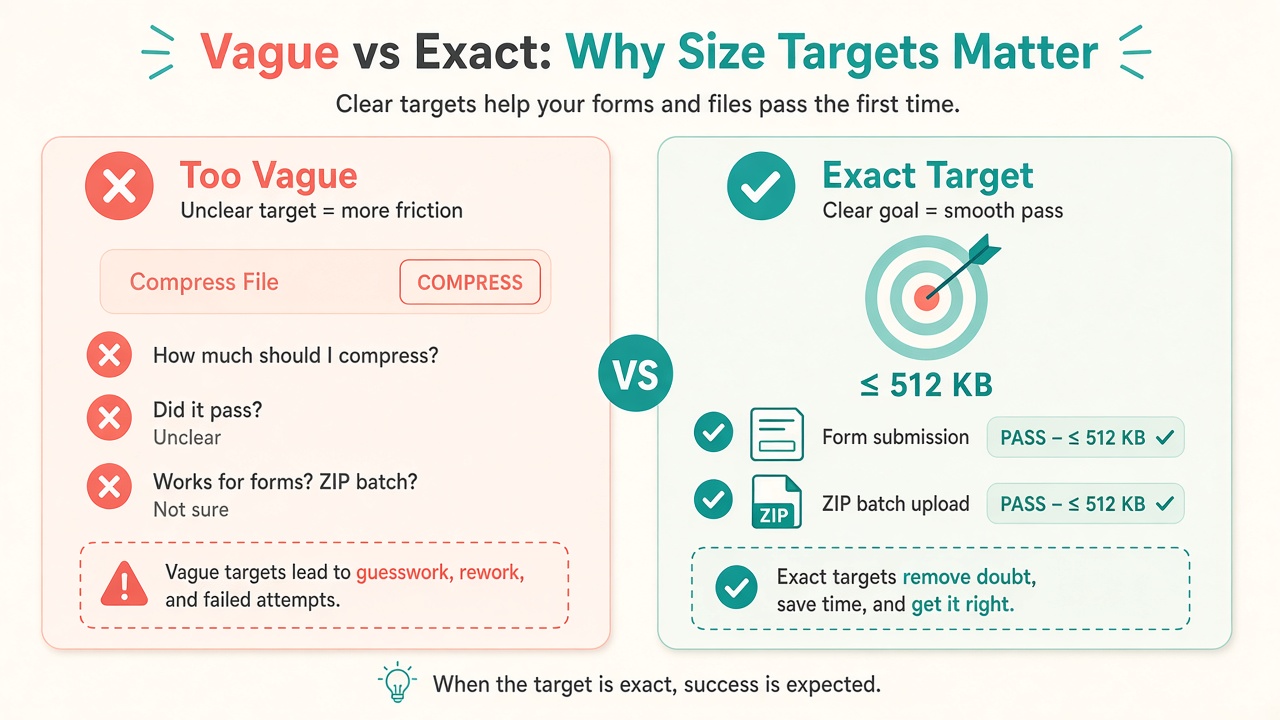
Exact KB compressor vs a vague compress button
A vague compress button guesses. An exact KB compressor aims. That gap decides whether a portal accepts your file.
Compare the jobs side by side:
Hard form limit: exact target aims at the number; vague compress often still fails
Batch folder: ZIP mode saves repeats; slider tools force one-by-one work
Public URL test: built into ImageToolkit Compress; rare on generic tools
Signup wall: ImageToolkit stays free with no account for this workflow
Related edits: resize, convert, watermark and background remove live in one suite
ImageToolkit runs compression on the server for reliable JPEG sizing, does not keep a permanent gallery, and stays free to use. See the live compress tool for presets and custom targets.
If you want the quality-first framing before you chase bytes, keep the earlier guide on compressing images without losing quality open in another tab.
Key takeaways for exact KB image compression
Use compress image to exact KB when a form, email client or marketplace enforces a hard file size
Prefer target size mode over guessing quality percentages
Common long-tail caps: compress image to 50KB, compress image to 100KB, compress image to 200KB
Resize pixels first when the form also lists width and height
Use JPEG for photos; convert PNG when the target is small
Start on the free online image compressor, then browse more free tools on ImageToolkit
Follow ImageToolkit for more image tips
Follow us on Instagram
Follow us on Facebook
Follow us on X
Follow us on Reddit
Read more guides on the ImageToolkit blog
Frequently asked questions
How do I compress an image to exactly 100KB or 200KB?
Open ImageToolkit Compress, enter 100 or 200 as the target (or pick a preset), then download the result. The file should land at or under the limit in normal cases. If the photo is huge, resize dimensions first.
Can I compress a photo for a government form under 50KB?
Yes. Set a 50KB target for strict exam and signature fields. Crop tight, use JPEG, and lower pixel size first if the source is a multi-megabyte phone photo.
Does ImageToolkit store my uploaded photos?
No permanent gallery. Images are processed for the request and are not kept as a browsable library. Check the Compress tool FAQ for the latest privacy details.
Which formats work best to reduce image size in KB?
Inputs can include PNG, JPG, WEBP, BMP, GIF and TIFF. JPEG output is best for hitting exact KB targets on photo uploads. Convert PNG photos to JPEG when the form needs a small file.
Is an exact KB compressor better than TinyPNG or Squoosh for forms?
TinyPNG and Squoosh are excellent for web optimization. For a hard portal limit such as under 200KB, exact target mode is usually faster because you type the number instead of testing quality sliders.