
13 min read · September 27, 2026
Brighten Dark Photo Online Free (No Photoshop)
Brighten a dark photo online free with live preview. Fix underexposure, add contrast so it doesn’t wash out, then download — free ImageToolkit Adjust workflow, no signup.
A dark photo doesn’t always mean you failed as a photographer. Sometimes the room was dim. Sometimes the phone protected the window light and left faces in mud. Sometimes night mode lied. Learning how to brighten a dark photo online free matters because those images still hold the moment—you just can’t see it yet. And waiting for a desktop install is a terrible reason to trash a usable shot.
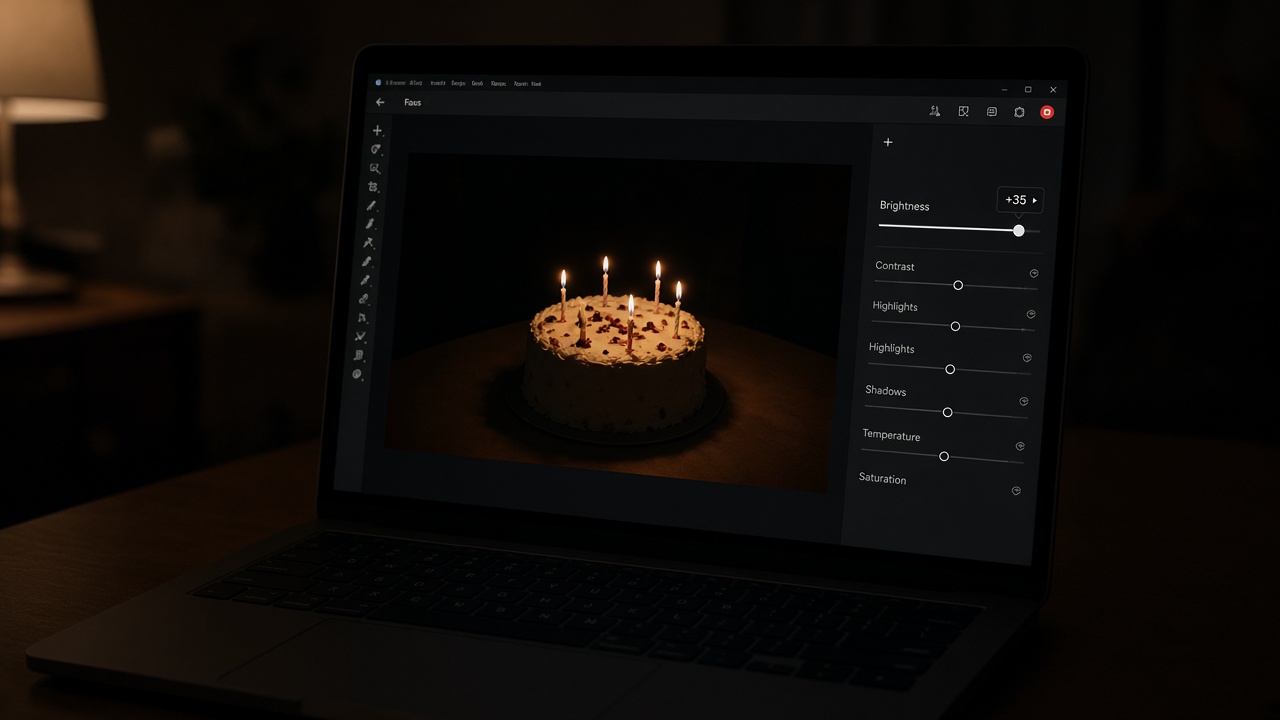
I once almost deleted a birthday candle photo because it looked like a cave painting. The cake was there. The smile was there. The file just sat too dark. I felt that little spike of frustration—“I’ll fix it later in Photoshop”—then I remembered later never comes on busy weeks. So I uploaded it to a free browser tool, raised brightness until the faces returned, added a bit of contrast so it didn’t turn gray soup, and stopped. Ninety seconds. The photo made the family chat. Deleting it would’ve been the real mistake.
In this post you’ll get a brightness-first rescue plan: how to tell underexposure from “moody on purpose,” how to lift a dark JPEG without washing it out, when contrast must follow, what saturation should (and shouldn’t) do, and a free workflow you can repeat on phone shots tonight. I’ll also flag the hard limit—tools can’t invent detail that never hit the sensor.
If a dark image is sitting in your camera roll right now, keep reading. You’re closer to a clean fix than you think—and you don’t need a paid editor to get there.
How Can I Brighten a Dark Photo Online for Free?
Upload the dark photo to a free tool like ImageToolkit Adjust. Raise brightness until midtones and faces look readable. Add a small contrast boost so the lift doesn’t look milky. Optionally nudge saturation, then apply and download. No signup. Work in small steps to protect highlights.
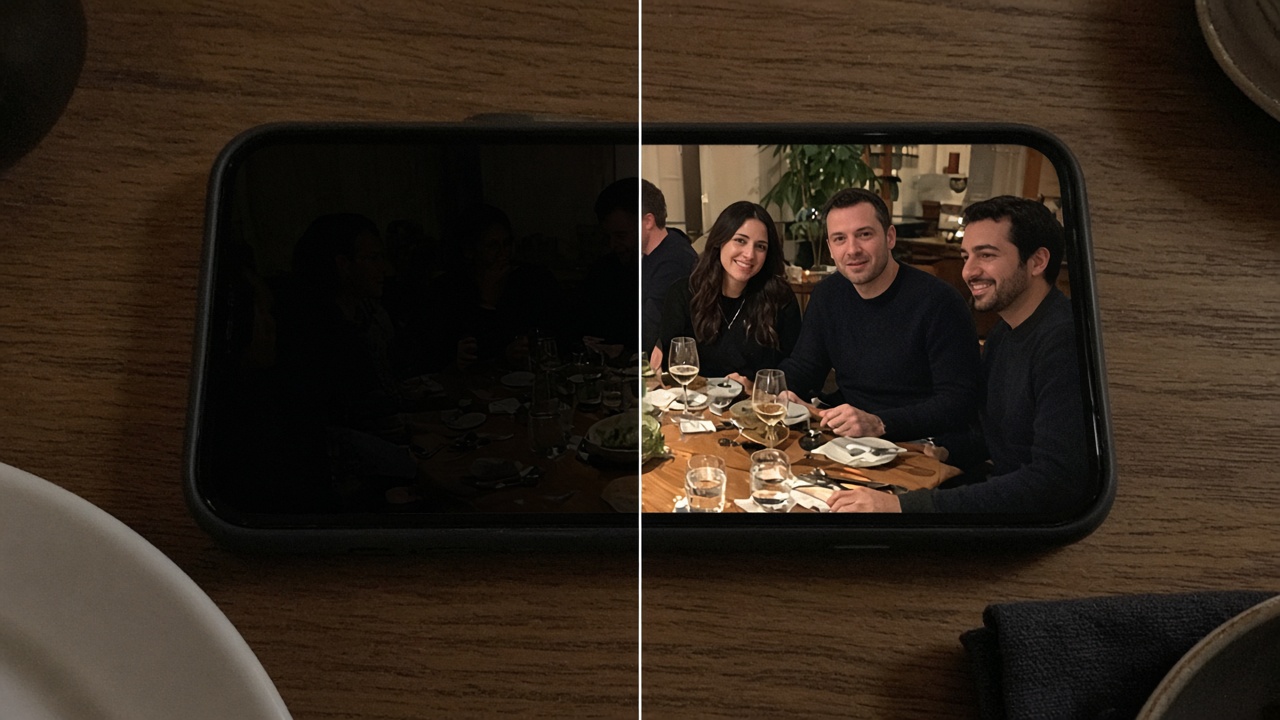
Brighten Dark Photo Online Free: The Brightness-First Rescue Guide
I think the biggest myth is that dark photos need “AI magic.” Sometimes they do. Often they don’t. A careful brightness lift plus a contrast assist fixes a huge share of underexposed phone JPEGs.
In my opinion, free online brightening wins when the file still has midtone information—you just need to reveal it. ImageToolkit’s Adjust page gives you brightness (your main lever), contrast (your anti-washout lever), and saturation (optional color finish). Live preview first. Apply for download. Free. No account. No watermark.
Let’s walk the rescue like an argument: diagnose, lift, stabilize, finish, export. Five moves. No fluff.
Diagnose Why the Photo Looks Dark Before You Touch a Slider
Not every dark image wants the same cure.
- Underexposed mistake: faces muddy, details hiding, you wished you’d used more light. Brighten.
- Intentional mood: nightlife, silhouette, cinematic shadow. Maybe don’t “fix” it.
- Crushed blacks: huge areas already pure black with zero texture. Brightness helps edges of midtones, not empty voids.
- Screen lie: your phone is on night brightness and everything looks darker than it is. Check on another display.
Ask: “Do I want to see more in the shadows?” If yes, proceed. If the darkness is the point, leave it alone. Editing isn’t mandatory. Taste still exists.
Also check noise. Heavy ISO grain gets more obvious when you brighten. That’s normal. Sometimes the trade is worth it. Sometimes it’s not. Your call.
Upload the Dark Photo to a Free Online Adjust Tool
Go to ImageToolkit Adjust. Drop the file or browse. Keep uploads under about 15 MB.
JPG from a phone is the classic case. PNG scans work too. If the file is enormous, compress or resize first, then brighten. Don’t fight a giant upload when a reasonable export would do.
I rename dark rescue files before I start—“birthday-candles-bright-v1.jpg”—because I will otherwise download five versions named like alphabet soup. Learn from my chaos.
Need the broader three-dial theory (brightness + contrast + saturation as a full system)? That’s covered in our pillar guide: adjust brightness contrast saturation online. This page stays laser-focused on dark-photo rescue.
Raise Brightness Until Faces and Midtones Become Readable
This is the main move. Brightness lifts overall lightness. Push it up until the subject returns.
Go slow. I’m serious. Big jumps turn shadows into gray fog and blow weak highlights. Watch the live preview like a hawk. Stop when eyes, text, or product edges read clearly.
Starter instinct for many dark phone shots: a moderate lift, pause, evaluate, then another tiny bump if needed. If whites start glowing blank, reverse. You can’t brighten what isn’t there—but you can absolutely overshoot what’s left.
Rhetorical question worth asking out loud: “Can I recognize the person/product now without squinting?” If yes, you’re close. If no, lift a little more. If the image just gets noisier and emptier, the file may be too far gone for a simple brighten.
Add Contrast So the Brightened Photo Doesn’t Turn Milky
Here’s the part people skip—then blame the tool.
Brightness alone often flattens the feel. Blacks lift. Everything goes soft. Contrast puts separation back. A modest contrast bump after brightening is the difference between “rescued” and “washed laundry.”
I feel this step is non-negotiable for dark phone dinners and indoor events. Lift, then punch. Not punch first. Punch first on a crushed file can make the remaining darks even meaner before you’ve recovered midtones.
Watch clipping again. If contrast recreates harsh voids, ease it. Sometimes the sweet spot is “brightness +12-ish feel” and “contrast + small.” Exact numbers vary by tool scale. Your eyes are the real UI.
Optional Saturation Nudge, Then Apply and Download
After tone looks honest, ask whether color needs help. Dark photos often look dull even after a lift because underexposure mutes perceived color. A light saturation bump can restore life.
Keep it optional. Skin can go weird fast. Brand colors can go neon. If the photo only needed readability, skip saturation entirely. Done is better than decorated.
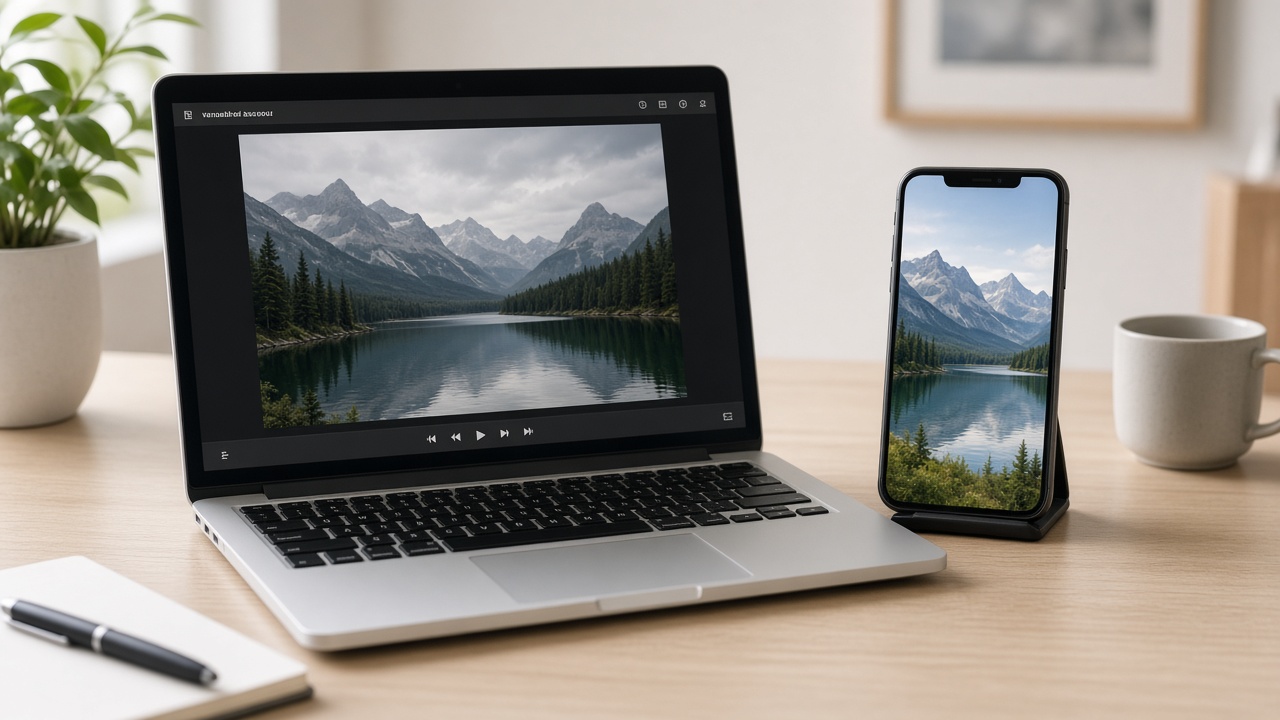
When the preview looks right, apply and download. Open the result on your phone. Dark rescues that look fine on a bright laptop sometimes look different on OLED. Trust the device you’ll post from.
Hard truth again: if the original was almost pure black, brightening reveals noise and empty patches. That’s not the tool failing. That’s the file telling on itself.
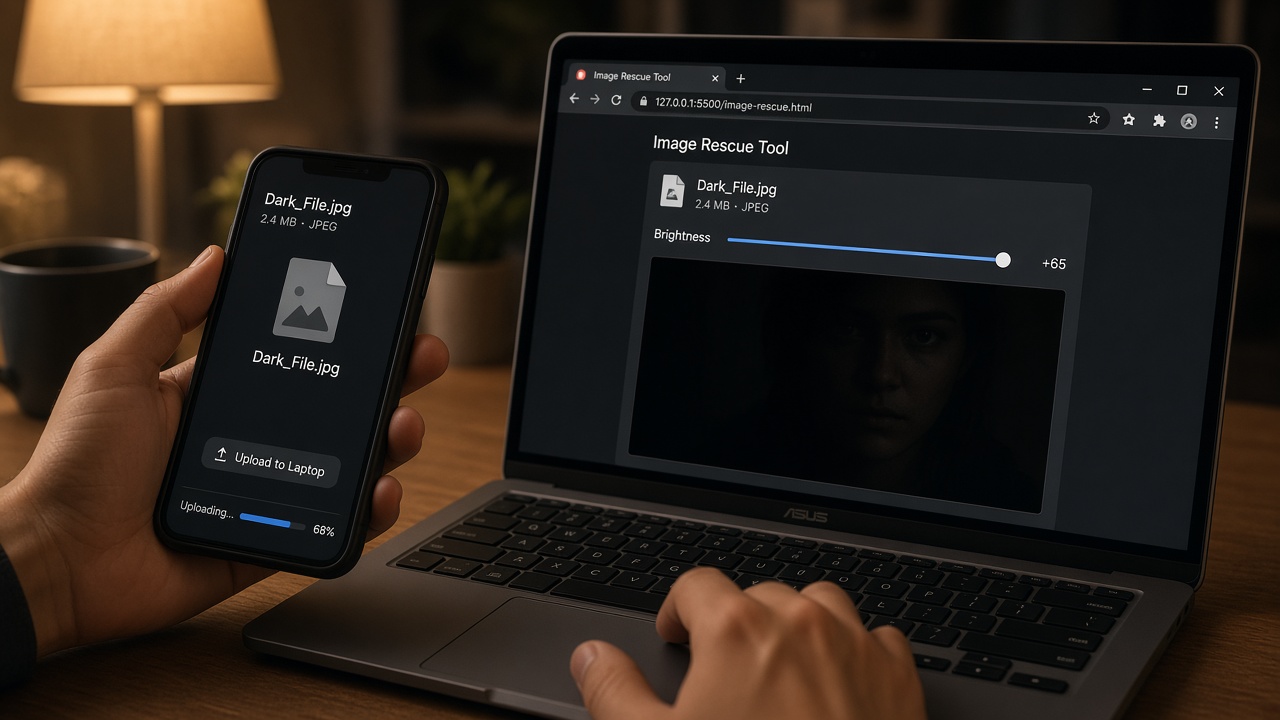
Why Phone Photos Go Dark (And What Brightening Can Actually Fix)
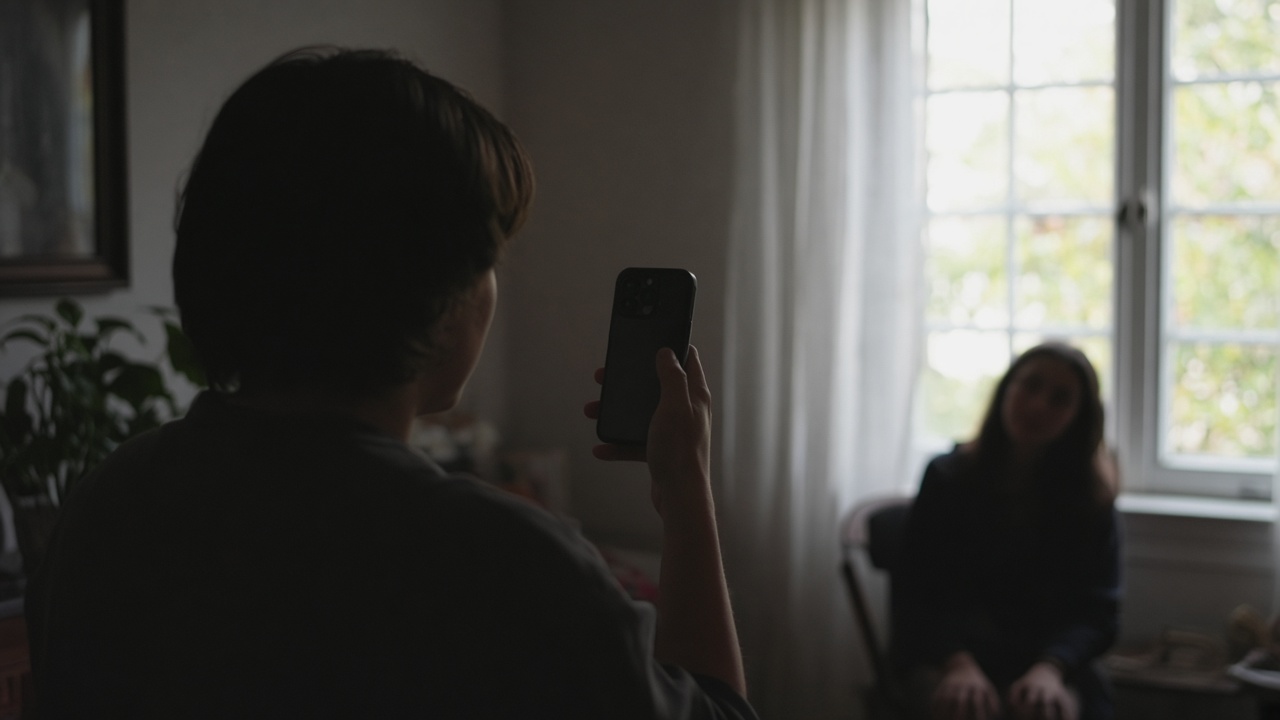
Phones meter scenes in weird ways. A bright window fools the camera. A single lamp tricks exposure. Night modes stack frames and still leave faces soft and dim. Underexposure is common. It’s not a character flaw.
Lexical plain talk: brighten means make lighter. Dark means lacking light. Online free means you can do it in a browser without paying or installing. Those words are simple on purpose—because the search intent is simple: “make this dark picture usable.”
Related ideas: underexposure, shadow lift, midtone recovery, dynamic range limits, ISO noise, clipping, washout. Hypernyms include exposure correction and photo editing. Hyponyms include brightening an indoor dinner JPEG or lifting a hallway portrait. Holonyms include your posting workflow and the ImageToolkit set. Meronyms include the brightness slider, contrast follow-up, preview, and download.
Connotation check: “brighten” can sound like cheerfulness, but here it’s luminance. “Dark” can mean stylish. Know which meaning you’re fixing. Don’t flatten a deliberate silhouette because a tutorial said every shadow is a problem.
Etymology nibble: photograph literally ties to writing with light. If the light writing came out faint, brightening is you turning up the readability of that writing—not inventing a new sentence.
Common Attributes, Rare Gotchas, Unique Wins
Common attributes people want in a free dark-photo brightener: no signup, live preview, fast download, works on phone JPEGs, doesn’t watermark the export.
Rare gotchas: brightening without contrast; judging only on one screen; expecting miracle recovery from crushed files; confusing noise with “detail.”
Unique win with ImageToolkit Adjust for this job: you can preview the brightness lift instantly, stabilize with contrast, optionally finish color, then Apply for a clean download—inside the same free toolkit you already use for compress and convert.
Where this guide should NOT wander: full color-grading theory, curve mastery, local dodge-and-burn. Those belong in deeper editing guides. If you want the complete three-control system explained as a general method, use the pillar article on adjusting brightness, contrast, and saturation online. This post owns the dark-photo problem.
Mistakes That Keep Dark Photos Looking Worse After “Fixes”
- Maxing brightness in one yank
- Skipping contrast after the lift
- Cranking saturation to hide a bad exposure
- Brightening a photo that was meant to be moody
- Expecting missing detail to reappear like magic
- Never checking the download on a phone screen
I’ve made most of these. The funny one is saturation-as-cover-up. It feels productive. It looks like a cartoon. Don’t be me from 2019.
Another aside: if the photo is dark AND tiny AND blurry, brightening helps least. Fix what you can. Replace what you must. Sometimes the adult decision is a reshoot with a lamp. Boring. Effective.
Step-by-Step Scenarios You Can Copy Tonight
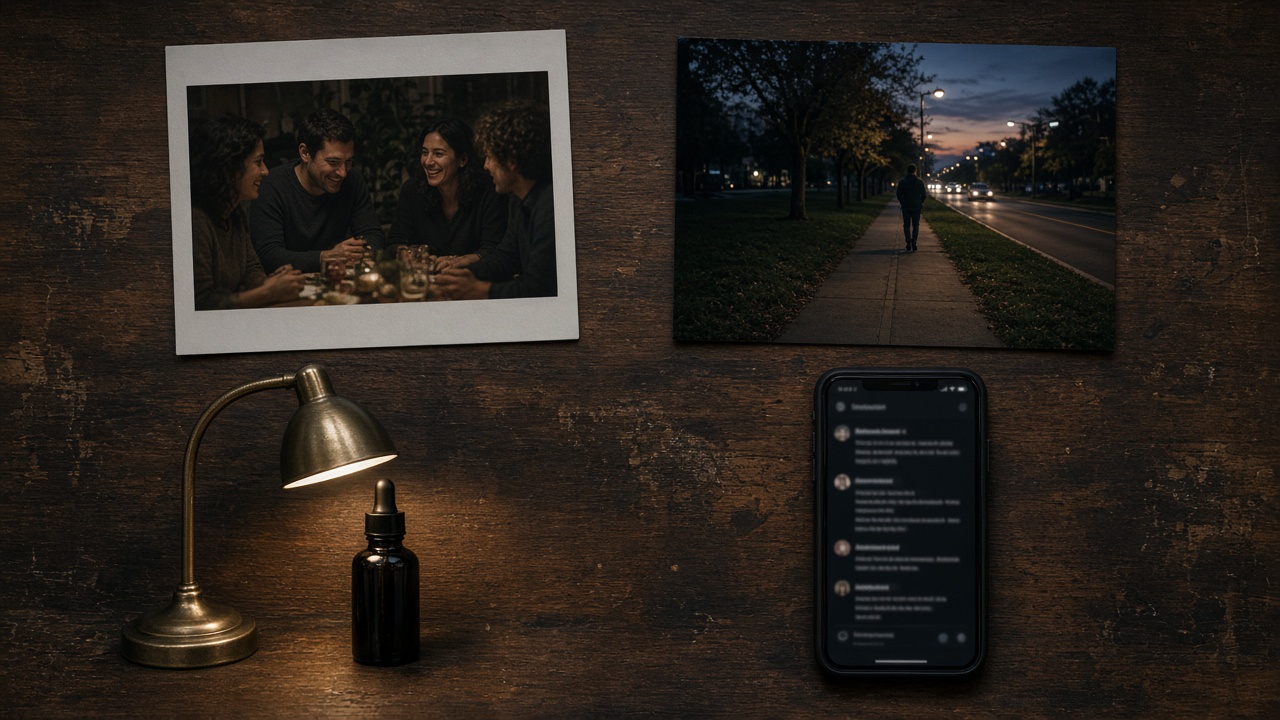
Scenario A — Indoor dinner, faces in mud: Upload. Brightness up until eyes read. Contrast up a little so plates don’t look gray. Saturation optional if food still looks tired. Download. Post.
Scenario B — Evening outdoor walk: Lift brightness carefully so sky highlights don’t blow. Contrast modest. Skip heavy saturation—night colors go weird fast.
Scenario C — Product under a weak desk lamp: Brightness until the label is readable. Contrast so edges separate from the table. Saturation only if brand color looks dead. Check against the real object if you have it nearby. Your eyes remember the true red better than your hope does.
Scenario D — Dark screenshot of a UI: Brightness first. Contrast second for text clarity. Saturation near zero change. UI screenshots aren’t sunsets. Don’t treat them like sunsets.
I keep a sticky note mental model: “Readable first. Pretty second.” If you reverse that order on a dark file, you’ll decorate a mess. If you follow it, you’ll ship.
How Free Online Brightening Fits a Real Content Pipeline
Think of brightening as station one on an assembly line. Dark photo in. Readable photo out. Next stations might be crop, compress, convert, or watermark. ImageToolkit already lives in that neighborhood, which is why I like using Adjust here instead of bouncing across five random sites.
For teams, write a micro-SOP: “If faces unreadable → Adjust brightness → add contrast → export → compress if needed.” New interns can follow that without a design degree. That’s operational kindness.
For freelancers, bill the five-minute rescue as part of delivery polish. Clients rarely ask how. They notice when the image finally looks like the moment they remember.
And for personal archives—birthdays, trips, late-night chaos—free brightening is how memories stop rotting in a “too dark to share” folder. I’ve got a folder like that. Had. Past tense. Progress.
What “Good” Looks Like After a Dark-Photo Rescue
You’re done when:
- Subject is recognizable without squinting
- Highlights still hold some shape
- The frame doesn’t look like gray milk
- Noise is acceptable for the use case
- Color (if touched) still looks believable
You’re not done—or you went too far—when skin turns radioactive, whites glow empty, or the photo looks brighter but somehow worse. Trust that gut flop. Reverse a step. Humans notice fakery faster than we admit.
One more sensory check I use: step away for twenty seconds. Make tea. Come back. First impression after a break is more honest than the trance you get while dragging sliders. Editing trance is real. It lies cheerfully.
Before / After Thinking Without Fake Marketing Claims
I won’t pretend a slider “triples engagement.” What I will say: readable photos get used. Dark photos get skipped. Brightening changes whether an image enters the feed at all.
Before: faces sink, labels hide, the moment feels unfinished. After a careful lift: the same pixels, better access. That’s the whole pitch. No fairy dust.
If you’re writing alt text later, describe the scene honestly—“family around a birthday cake in warm indoor light”—not “perfectly exposed masterpiece.” Search likes clarity. So do humans.
Objections From Skeptics (Fair Ones)
“Free tools ruin quality.” Bad exports can. A careful JPEG/PNG download from a reputable tool usually doesn’t. Compare file size and sharpness after. Trust evidence over fear.
“Brightening always looks amateur.” Over-brightening does. Measured brightening looks invisible—which is the compliment.
“I should just reshoot.” Sometimes yes. Sometimes the moment won’t return. Rescue what you can. Reshoot what you must. Both can be correct in the same week.
I’m opinionated here: delete less, brighten more, then decide. Your archive will thank you in five years when the “almost too dark” shot is the only one left of that night.
Quick story closer to home: my cousin sent a nearly black photo from a hospital waiting room—bad fluorescent light, phone on its last battery percent. She asked if it was useless. We brightened it. Faces returned. It wasn’t gallery art. It was proof someone showed up. That was enough. Tools don’t just polish marketing. Sometimes they protect ordinary evidence of care.
So when someone says “it’s just a brightness slider,” I shrug. Sure. And a seatbelt is just a strap. Utility isn’t less valuable because it’s simple.
SEO note for publishers reading this far: keep this URL focused on brighten dark photo online free. Link out to the full three-dial guide for broader queries. One page, one primary intent. That’s how you avoid ranking tug-of-war between siblings.
A Mini Glossary for Dark-Photo Rescue
Underexposure: the capture received too little light, so tones sit too low.
Midtones: the middle brightness values where faces and products usually live.
Washout: that milky look after a heavy brightness lift without contrast support.
Clipping: tones slammed to pure white or pure black with no recoverable texture.
Live preview: seeing slider changes before you commit to download.
Apply: the step that writes the corrected file you can save.
If those six terms are clear, you can explain the workflow to anyone. Clarity beats jargon. Always.
Print the glossary if you train teammates. Tape it near the content desk. The next time someone says “this photo is too dark,” you’ll have a shared language instead of vague panic. Shared language speeds edits. Panic slows them. Pick one.
And remember: free doesn’t mean careless. Free means accessible. Use the accessibility. Respect the image. Download the better version. Move on with your day. If you brighten ten dark photos this month, that’s ten moments that stay visible instead of rotting in a forgotten folder—and that adds up faster than people think.
Conclusion: Lift the Light, Then Protect the Punch
Dark photos are often salvageable. Brightness reveals what underexposure hid. Contrast stops the rescue from turning milky. Saturation is optional. Free online tools make that sequence fast enough to use before you post.
In my experience, the habit that works is simple: diagnose, upload, lift brightness, add contrast, decide on saturation, download, check on your phone. Tools like ImageToolkit Adjust keep that loop free and lightweight.
Want the complete method for all three dials—beyond dark-photo rescue? Read Adjust Brightness Contrast Saturation Online. Two posts. Two intents. Cleaner ranking. Clearer help for readers.
Now open that cave-dark shot you’ve been ignoring. Give it one honest pass. If the faces come back, you just saved a memory. If they don’t, you learned the file’s limit—and that’s still useful.
Keep the free tool handy. Keep the brightness-first habit. Keep contrast as your anti-washout insurance. And keep the companion three-dial guide nearby for days when the problem isn’t darkness alone. That’s a complete, calm system—simple enough to use under pressure, strong enough to trust. Dark photos don’t have to stay buried. Brighten them, check them on your phone, share them—then step away from the sliders and back into your day. The goal was never endless editing. The goal was a photo you can finally see and use—without buying software you do not need for a two-minute fix.
Frequently Asked Questions About Brightening Dark Photos Online for Free
These are the questions people ask most when a photo is too dark and they need a free browser fix. Straight answers first—then the practical caveat that keeps results looking natural.
How do I brighten a dark photo online free without Photoshop?
Upload it to ImageToolkit Adjust, raise brightness until the subject is readable, add a small contrast boost, optionally nudge saturation, then apply and download. No Photoshop, no signup, no watermark. Keep steps small so highlights don’t blow out.
Why does my photo look gray after I brighten it?
Brightness lifted the blacks and flattened separation. Add contrast after the brightness lift. That usually restores punch. If it still looks gray, you may have gone too far on brightness—ease it back, then rebalance contrast.
Can I fix a completely black underexposed photo?
Only partly. If large areas are pure black with no texture, brightening reveals noise and empty patches, not hidden detail. Rescue what’s left in the midtones. For future shots, add light or expose brighter in-camera.
Should I increase saturation when brightening a dark photo?
Sometimes, lightly, after brightness and contrast look right. Underexposure can make colors feel dull. Saturation is optional seasoning, not the main meal. Be careful with skin tones.
Is a free online brighten tool safe for personal photos?
Use tools you trust and avoid uploading sensitive images to random sites. ImageToolkit Adjust uses a live preview and an Apply step for downloadable output. For highly private files, weigh your comfort level before any online upload—same rule as any web tool.
What’s the difference between this guide and a full brightness/contrast/saturation guide?
This guide targets one problem: dark/underexposed photos. The pillar guide covers the full three-dial system for dark, flat, and dull-color images. Start here for rescue. Use the full adjust guide when you need broader tone and color control—without mixing the two search intents.